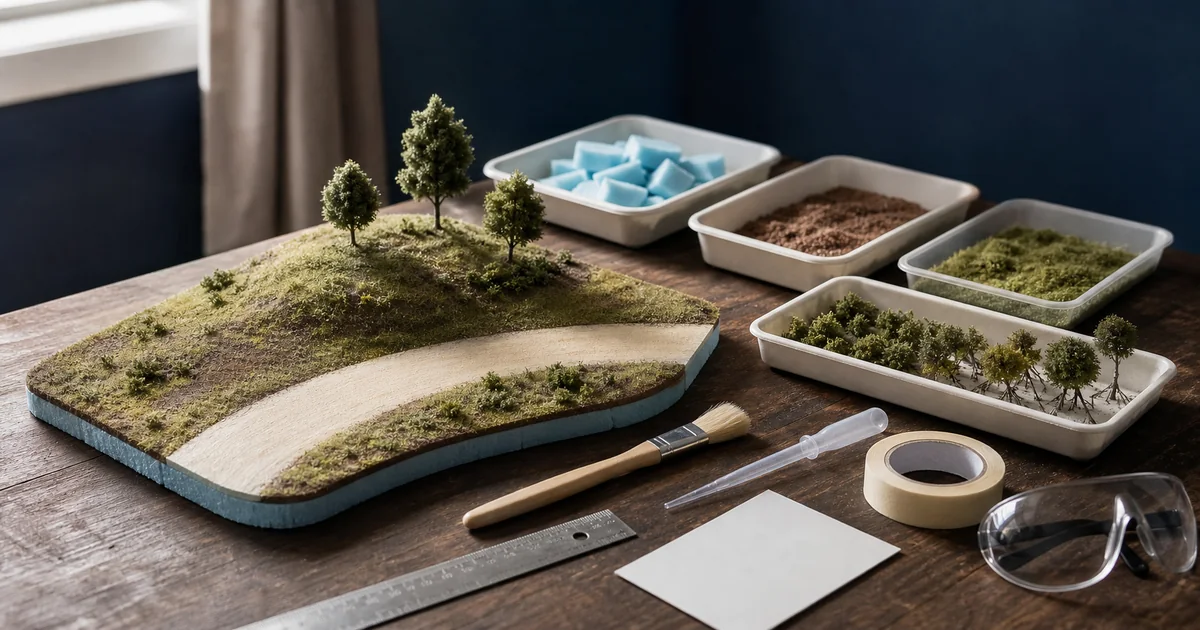
Good model railroad scenery does more than hide the baseboard. It explains why the railway is here: a line crosses a valley on an embankment, enters a cutting to hold its grade, serves a town, or leaves clear ground where maintenance crews need access. The beginner's trap is to choose grass and trees before answering those railway questions.
This guide uses a reversible sequence. Each expensive or hard-to-remove action is held behind a test: prove the railway, prove the materials, prove the clearances, then glue only one small area. That is slower for one evening and much faster over the life of a layout.
Start with a scene brief, not a bag of grass
A convincing scene needs a location, period and operating purpose. Those decisions control the landform, structures, line-side equipment and vegetation. Save at least two traceable references—railway, infrastructure owner, archive, museum or public authority material—then use dated photographs for angles and surface detail. One undated image should not be asked to prove a station building, signals and rolling stock all belonged together.
| Brief field | Question to answer | What it changes on the model |
|---|---|---|
| Location | Coastal, mountain, urban, industrial or rural? | Soil, drainage, cuttings, embankments, vegetation, roads and building materials |
| Period | A specific year or operating phase? | Trains, platforms, signals, fencing, advertising, rebuilt structures and weathering |
| Operation | Through running, crossing, junction, freight, storage or terminal? | Track count, platform length, yards, service roads and the areas staff must reach |
| Season | What growth, weather and maintenance state? | Grass height, leaf color, wet ground, snow protection and lineside clearance |
| Physical limits | Largest vehicle, module size, doorway and storage box? | Clearance, removable seams, board division, weight and handling points |
ROKHELM decision rule: every large scenic feature should answer at least one railway question. A cutting should help the line hold a level or gradient; a drainage ditch should lead somewhere; a bare strip beside the track should suggest access or vegetation control. If a hill exists only to fill an empty corner, test a paper version before committing material.
Four checks before terrain becomes permanent
- Confirm the actual scale. NMRA North American N is 1:160, while TOMIX identifies its Japanese N system as 1:150 for conventional trains and 1:160 for Shinkansen. Read the vehicle, figure and structure labels instead of assuming every item marked N shares one ratio.
- Bring out the demanding vehicles. Identify the longest, widest, tallest and greatest-overhang stock you run. Tangent clearance does not prove curved clearance, and a short car cannot certify a tunnel for a long one.
- Map service access. Mark turnouts, feeders, rail joints, tunnel track, lighting connectors and any hidden derailment point. Decide how a hand or tool reaches each one before a hill, road or building covers it.
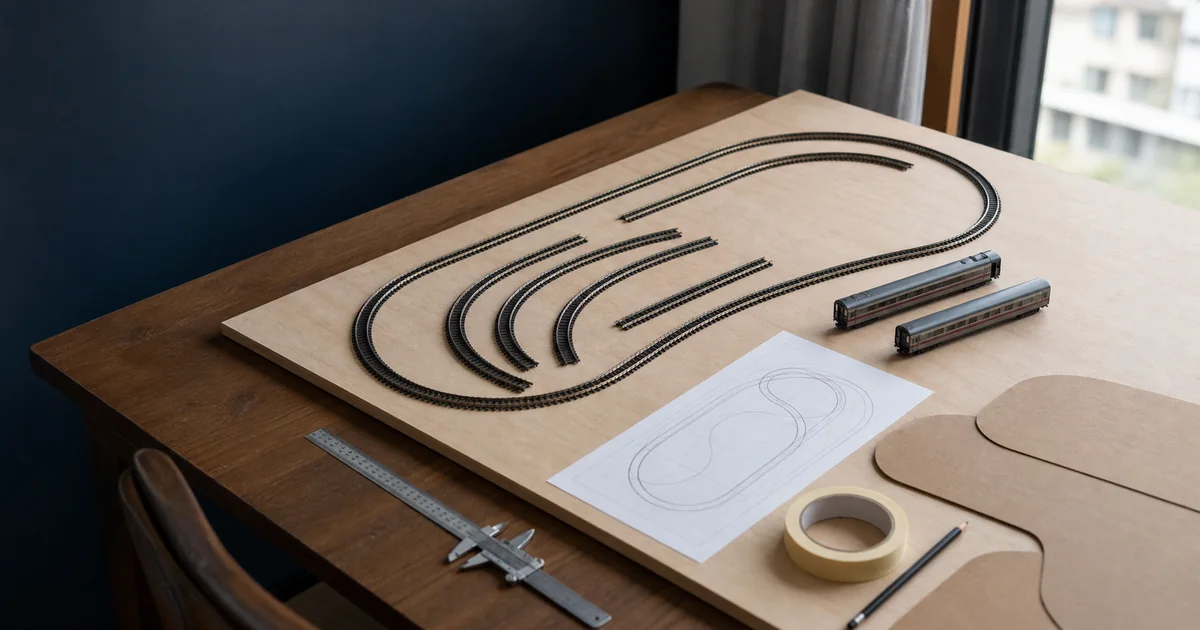
- Prove the railway. Complete track geometry, wiring, turnout operation and intended-train tests. TOMIX's own layout sequence puts temporary track and structure placement, power testing and structure-clearance checks before fixing track, wiring and detailed scenery.
Track and scenery therefore belong in the same plan, but not in the same irreversible step. Paper buildings, foam blocks and masking-tape roads can develop the composition while the railway remains accessible. For a small board where reach is especially limited, use the small-space layout guide alongside this article.
Terrain-shell decision matrix: choose by the job
The baseboard carries the layout; the terrain shell creates landform. Do not assume a sheet of scenery foam replaces structural design, or that one terrain system suits every span, module and water feature. The NMRA presents carved structural foam and supported plaster-gauze shells as established alternatives, not as a single mandatory recipe.
| System | Best fit | Access and moving | Important boundary |
|---|---|---|---|
| Carved XPS landform | Solid slopes, cuttings, shallow depressions and removable hills | Easy to make as a lift-off block; account for bulk and handholds | The cited Styrofoam-brand XPS sheet classifies that board as combustible and requires polystyrene-compatible adhesive; identify your exact board from its label, not its color |
| Supported form + plaster cloth | Broad hills and a lightweight hard shell over card, mesh or another supported form | Useful for hollow terrain and access cavities when the opening is designed first | Plaster cloth and poured casting plaster are different products; follow the product-specific preparation, drying, cleanup and handling instructions |
| Thin flat scenic build | Yards, station forecourts, urban scenes and portable micro layouts | Low weight and easy reach; drainage and small level changes must be designed rather than hidden by hills | Do not let paving or ground texture bridge track joints, feeder access or module interfaces |
| Hybrid shell | Layouts needing carved portals, hollow hills and mixed flat areas | Lets each zone use a different removal method | Test every boundary: coatings, adhesives and movement can differ where materials meet |
Wood also changes moisture content with its surroundings. USDA notes that proper drying, handling, storage and design reduce dimensional-change problems; simply choosing a thicker board does not remove the need for support, stable storage and planned joints. Structures and roads are a separate purchasing decision, so confirm their scale and full-size footprint before permanent terrain.
Make a same-material sample board
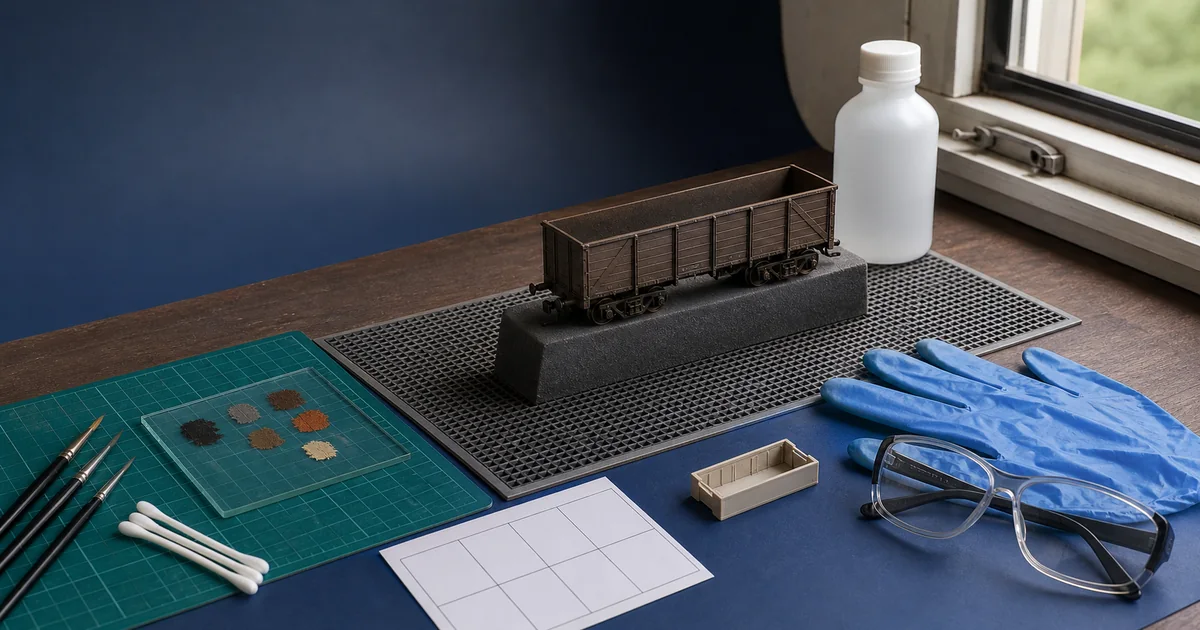
Use offcuts from the actual batch of foam, coating, ground texture and adhesive. Run the complete sequence, including the product's full stated drying period. Record product name, batch if available, application method, room temperature and relative humidity, plus dried color, sheen, bond and how the layer can be repaired. A sample is useful only if it reproduces the layout materials and has fully dried; a quick demonstration on unrelated card cannot certify foam compatibility.
Read the container: there is no universal scenery-glue ratio
| What the container says | Correct decision | Stop if… |
|---|---|---|
| Ready-to-use | Use it as supplied and follow its applicator sequence. Woodland S191 is ready to use and already contains a wetting agent | The instructions are missing, or the sample shows whitening, unexpected gloss or substrate damage |
| Concentrate | Measure only the dilution printed for that exact product and purpose | The ratio came from a different bottle, kit or task |
| Generic PVA | Check that exact glue's label and test it with the intended material; NMRA examples differ between ground cover, static grass and ballast | An online ratio is the only evidence, or you cannot reproduce the measurement |
| Unknown decanted liquid | Do not use it on the layout; identify it or replace it with a documented product | You cannot confirm contents, age, hazards or cleanup method |
Pre-wetting is equally product-specific. A technique that helps one dilute PVA method is not permission to mist every adhesive or surface. Drying also has no universal number of hours: distinguish recoat time from full drying or cure, then check the actual layer thickness and sample. Keep power off until the lowest layer is fully dry.
N scale vegetation ruler: convert before you plant
Bag labels describe fiber length, not the plant you are trying to model. Woodland's current landscape guide gives the following 1:160 equivalents. Use them as a visual planning aid, then check the scale of your own model and the growth seen in the reference location.
| Fiber length | Approximate height at 1:160 | Plausible visual role |
|---|---|---|
| 2 mm | About 1 ft / 30 cm | Low rough grass, maintained verge or the first layer beneath mixed growth |
| 4 mm | About 2 ft / 61 cm | Taller verge, field or weeds where staff do not regularly walk |
| 7 mm | About 4 ft / 122 cm | Rank growth or isolated tall clumps—not a universal lawn |
| 12 mm | About 6.5 ft / 198 cm | Very tall weeds, reeds or a layered effect with a clear prototype reason |
This explains why a single 7 or 12 mm fiber across an actively maintained N scale station yard can look oversized unless period photographs show rank growth. Mix height by land use: short or bare where people walk and equipment is maintained, longer at fence lines, damp ground or neglected margins. If you use an electrostatic applicator, follow its exact manual. For Woodland's Static King specifically, keep it away from all flammable liquids or gases, do not touch the ground-wire clip while it is on, and take precautions if you use a pacemaker or similar device.
Exclusive tool: the permanent-glue Go/No-Go gate
Every row must be GO before a permanent layer is released. One NO-GO keeps the scene in its recoverable state.
| Gate | Recoverable evidence | GO condition |
|---|---|---|
| Scene identity | Brief plus dated references | Location, period, operation and season do not contradict one another |
| Full-size mock-up | Paper, card, tape and loose structures | Largest and greatest-overhang stock clears every route and sight line |
| Mechanical and electrical | Bare track and exposed wiring | Turnouts, feeders, joints and lighting work; each service point remains reachable |
| Material sample | Same-batch offcut | Compatibility, dried appearance, bond and repair method are known |
| Dry scenic layer | Loose material that can still be vacuumed up | Rail tops, flangeways, point rails, throw bars and interfaces are clean |
| One-zone release | Only a small area fixed | After full drying, operation and electrical pickup are unchanged before work expands |
The six-layer scenery workflow
1. Build a serviceable terrain shell
Shape the landform around the brief and the access map. Use only compatible adhesives and tools, and make hills or tunnel roofs lift off where hidden track, feeders or turnout mechanisms require service. Before fixing the shell, repeat the rolling-stock and full-size structure mock-up.
2. Apply a compatible earth-color base
After the offcut passes, cover exposed pale substrate with a color derived from prototype soil, rock or paving. The base is not a finished landscape; it prevents unrealistic bright material from flashing through gaps and establishes the undertone for later texture.
3. Dry-place the fine ground texture
Arrange soil, gravel and leaf litter dry, using a soft brush to create irregular patches. Keep track ballast as a separate controlled task. At this stage an unsatisfactory area can still be recovered, sifted or vacuumed. Clear rail tops, flangeways and all turnout moving parts before any liquid appears.
4. Fix one small area by the product label
Identify ready-to-use, concentrate or generic PVA first. Follow that exact product's wetting, dilution, applicator, thickness and drying instructions. Start at the edge of one safe zone and watch whether liquid moves particles, attacks the base or dries with unexpected color or sheen.
5. Add vegetation from low to high
Build the lowest, easiest-to-repair layer first; add mixed grass, then shrubs, then fragile trees. Use the scale ruler and prototype land use to place height rather than spreading every green material evenly. Trees go last so they do not block a service hatch, signal sight line or useful camera angle.
6. Release the scene with a full-train test
With power off, hand-roll the most demanding car as an initial check. Only after all wet layers are fully dry and the rail has been cleaned by the track maker's method should you run the intended full train slowly in both directions and test every turnout. Contact, hesitation, loss of pickup or new operating resistance is a stop condition.
Turnouts and wet materials: map the real exclusion zones
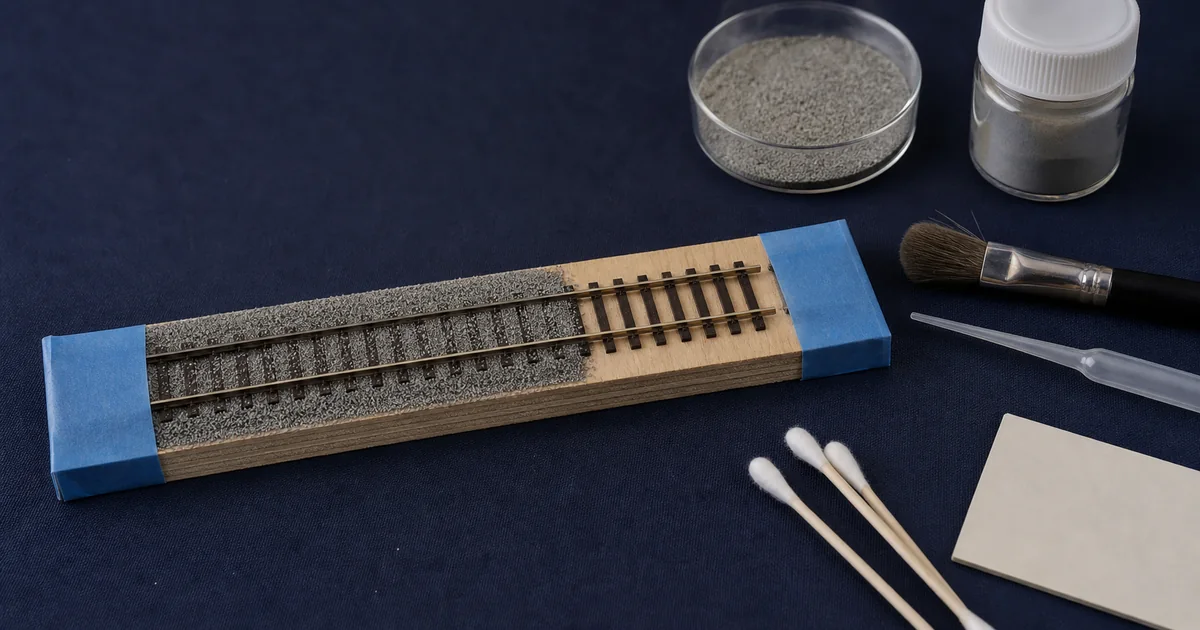
A whole turnout does not have to remain visually bare, but its working and electrical interfaces cannot be treated like plain track. The NMRA's ballast guidance keeps particles out from between the frog and wing rails, between guard and outside stock rails, between each switch point and stock rail for the last 25% of the point's length, and around the throw bar; adhesive is kept away from the points and throw bar while the mechanism is operated during drying.
For a beginner, the safest gate is intentionally conservative:
- No particles or adhesive on moving points, the throw bar, flangeways, contact surfaces and mechanism openings.
- Dry-place and photograph first. Operate the turnout repeatedly before and during nearby work.
- Keep the drive and wiring removable. Do not bridge a removable motor, connector or module joint with scenery.
- Stop on changed resistance. Do not energize a mechanism that feels or sounds different; remove loose material and inspect first.
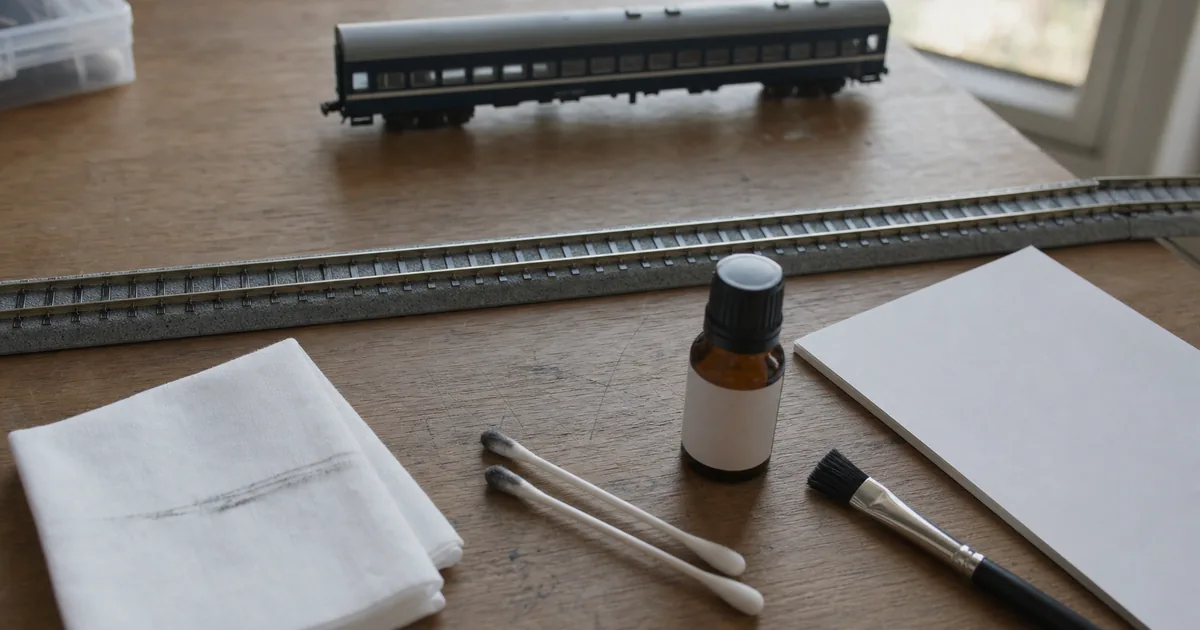
- Clean after full drying. Adhesive film or residue can interfere with wheel-to-rail contact and movement; use the track manufacturer's cleaning method.
For the track-specific grain, adhesive and turnout map, continue with How to Ballast N Scale Track. For post-build rail and wheel care, use the maintenance and cleaning guide.
Why realistic railway scenery is not random green
Real railway landforms are engineering assets. Network Rail defines embankments as structures that carry a line at an acceptable level and gradient over low ground, while soil and rock cuttings let it pass through higher ground at an acceptable level and gradient. It also says drainage and vegetation are part of earthwork maintenance. A convincing model can therefore connect its cut and fill: material removed for a cutting can visually explain a nearby embankment. Give each ditch or culvert a plausible catchment and outfall rather than placing it as isolated decoration.
On the present-day British network, lineside vegetation also follows operating constraints. Network Rail clears growth immediately beside track, sometimes farther back at higher speeds, in cuttings or embankments, and near level crossings or overhead equipment. It also needs access to examine and repair earthworks and structures. On a model of that context, this supports varied bands: a maintained or bare access strip close to the railway, rougher growth beyond it, and deliberate visibility around signals, crossings and equipment. A different country, operator or period needs its own evidence.
Railway culture × terrain design
A specific 1822 cut-and-fill decision can guide terrain storytelling
Network Rail's archive says George Stephenson's 1822 redesign for the Stockton and Darlington Railway favored more gradual inclines and eased curves. In this specific redesign, he proposed using spoil excavated from cuttings to create embankments, avoiding a tunnel in the earlier plan and shortening the Darlington branch. The model-making inference is to shape the route first, then let the earthwork explain how engineers achieved it.
Our view: repairability is part of scenic quality
A beautiful hill that must be destroyed to reach a feeder or derailment is unfinished as a railway. Repairability does not mean leaving everything loose. It means permanent fixing is reserved for layers that have passed their test, while higher-risk items—turnout drives, connectors, tunnel track and lighting—retain a defined removal path.
Room conditions: measure; do not guess from geography
Adhesive, plaster and wood respond to product chemistry, layer thickness, room temperature, relative humidity, airflow and storage. Measure the room, keep notes with the sample, and use the product's distinction between recoat and full drying or cure. A city, country or season is not a drying-time specification. Do not power the railway, enclose a cavity or seal a damp module into storage until the lowest layer is fully dry.
Official and first-party sources
Checked 2026-08-10. These sources support the build order, scale examples, product boundaries, workshop cautions and railway-earthwork context. Current labels, instructions and safety data for your exact products remain controlling.
- NMRA Beginner's Guide Part 6: Scenery — landforms, sample work, layered vegetation and track/turnout boundaries.
- NMRA Scales & More — North American N at 1:160.
- TOMIX layout-building sequence — mock-up, power and structure-clearance tests before fixed scenery.
- TOMIX N scale basics — 1:150 conventional Japanese stock and 1:160 Shinkansen in its system.
- Woodland Scenics S191 Scenic Cement — ready-to-use adhesive with a wetting agent.
- Woodland Scenics Plaster Cloth — lightweight hard-shell terrain material.
- Woodland Scenics Static King — shock, flammable-atmosphere, grounding and pacemaker cautions.
- Woodland Scenics Model Scenery & Landscape Guide — 1:160 static-grass height equivalents.
- DuPont Styrofoam-brand Square Edge product sheet (2024) — product-specific combustibility, heat and compatible-adhesive boundaries.
- DuPont Styrofoam-brand installation guidance — confirm adhesive compatibility on the container or with the manufacturer.
- OSHA respiratory protection guidance — particulate filters and gas/vapor cartridges are not interchangeable.
- USDA Forest Service wood-moisture guidance — moisture control and dimensional change.
- Network Rail earthworks — functions and maintenance of cuttings and embankments.
- Network Rail vegetation management — safety, access, visibility and lineside habitat constraints.
- Network Rail's George Stephenson notebook — the 1822 cut-and-fill route redesign.
Prove one sample before you touch the layout
N scale scenery: frequently asked questions
What order should I build model railroad scenery in?
Prove the track and write a scene brief first. Then make a same-material sample, build the terrain shell, apply a compatible earth-color base, dry-place fine ground texture, fix one small zone by the adhesive label, add vegetation from low to high, and run the complete railway release test after everything is fully dry.
Should I build scenery before or after laying track?
Plan track and scenery together, but delay permanent scenery until track geometry, wiring, turnouts and the intended trains work reliably. TOMIX likewise places temporary track and structure positioning plus power and clearance tests before track fixing, wiring and detailed scenery.
Is XPS foam or plaster cloth better for model railroad terrain?
Neither is a universal winner. XPS is useful for carved solid landforms; plaster cloth makes a lightweight hard shell over a supported form. Choose from span, weight, moving and storage needs, required cutouts, available tools and product compatibility. A load-bearing base and a terrain shell are separate jobs.
What length static grass should I use for N scale?
Start from the modeled plant, not the bag label. At 1:160, Woodland's guide equates 2 mm fibers to about 1 prototype foot, 4 mm to 2 feet, 7 mm to 4 feet and 12 mm to 6.5 feet. Short fibers suit clipped or low growth; longer fibers need a reason such as weeds or rough ground. Check the actual scale on your models.
Do I need to pre-wet scenery before applying glue?
Not always. The sequence depends on the exact adhesive and material. Woodland S191 is ready to use and already contains a wetting agent; other concentrates and generic PVA methods have different instructions. Read the label and prove the full sequence on a same-material sample before using it on the layout.
What glue ratio should I use for model railroad scenery?
There is no cross-brand ratio. A ready-to-use product should be used as supplied; a concentrate should be mixed only to its own instructions; generic PVA varies by product and task. The NMRA itself gives different examples for ground cover, static grass and ballast, so one online number should not be treated as universal.
Should ballast go before or after surrounding scenery?
There is no single visual order for every layout, but keep track ballast as a controlled trackwork task. Prove and secure the track first, protect turnouts and electrical interfaces, and use a short transition sample to decide how ballast shoulders meet nearby soil and vegetation. Do not mix loose scenery and ballast into one uncontrolled glue step.
How do I protect turnouts while building scenery?
Map a conservative no-particle, no-adhesive zone around moving points, the throw bar, flangeways and electrical or service interfaces. The NMRA keeps ballast out from between the frog and wing rails, between guard and outside stock rails, between each switch point and stock rail for the last 25% of the point's length, and around the throw bar. Dry-place first, operate the turnout during work and stop immediately if resistance changes.
How long should scenery glue dry?
Use the exact product's recoat and full-dry guidance, then verify the same layer on your sample board. Layer thickness, material and room conditions matter, so overnight is not a universal rule. Keep the railway unpowered and do not enclose, store or test-run the section until the lowest layer is fully dry.
How do I keep a hill or tunnel removable for maintenance?
Define the access route before shaping the hill. Put the seam away from the main sight line, keep wiring and turnout mechanisms outside permanent adhesive, use locating blocks or magnets only where suitable, and prove that the section can lift clear without striking structures, catenary or scenery.
How do I stop N scale grass from looking like a flat green carpet?
Start with prototype photos and preserve bare soil, drainage, paths and maintained clear zones. Build irregular fine texture first, then mix grass heights and muted colors, follow slope and land-use patterns, and add shrubs and trees last. Check each layer from rail height rather than only from above.
How do I test that finished scenery will not foul trains?
Use the longest, widest, tallest and greatest-overhang vehicles you actually run. Hand-roll them first, then after the scene is fully dry and the rail is clean, run the intended full train slowly in both directions through every route and operate each turnout. Any contact, hesitation or new resistance is a stop condition.