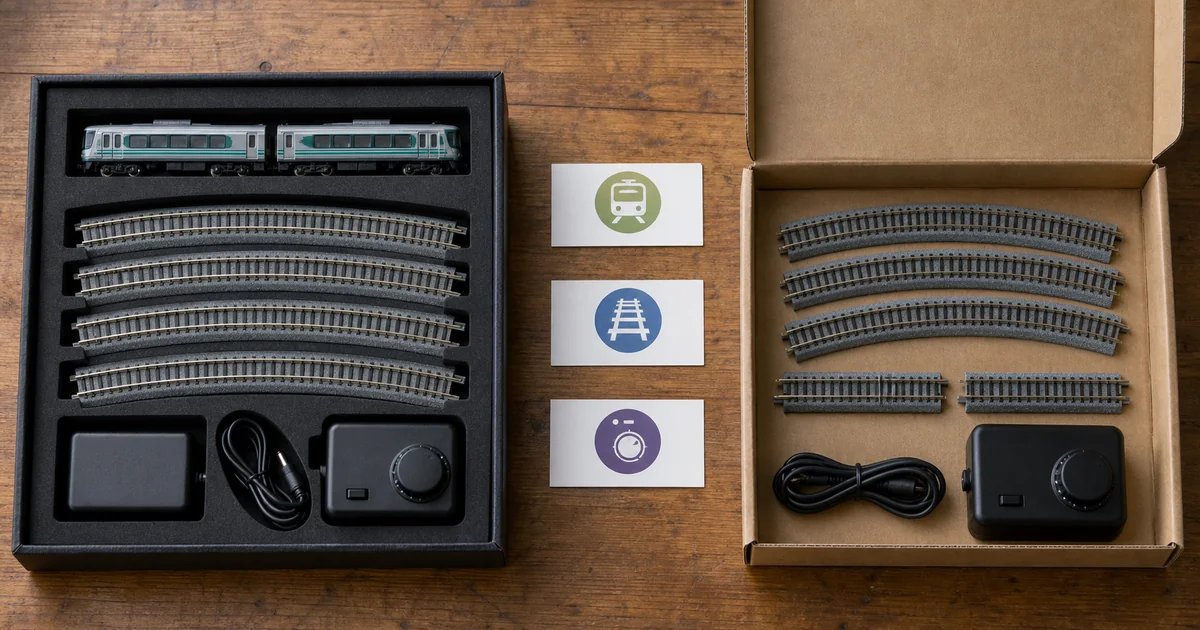
A first model train purchase fails less often because of the locomotive than because one quiet dependency is missing: the pictured formation has no motor, the track box has no train, the controller needs a separate supply, or the included curve is tighter than the chosen vehicle is cleared to use. This guide is deliberately scoped to Japanese-outline N scale and the KATO/TOMIX beginner ecosystem. It also states where worldwide N practice differs so an English-language reader does not mistake a Japanese 1:150 convention for a global rule.
First decide whether this is the right N scale path
N scale can place a longer train and more surrounding landscape in a given room than a larger modelling scale. That advantage is real, but it is not free: lettering and small parts are harder to see, rerailing demands finer hand control, and some lighting or decoder work is more compact. If those trade-offs matter, compare N scale with HO before choosing. The decision is about your eyes, hands, desired prototype and space—not a claim that one scale is objectively best.
N is a strong candidate when…
You value train length or scenery depth in limited space, can comfortably handle small vehicles and want the breadth of Japanese ready-to-run stock and sectional-track systems.
Compare a larger scale when…
Fine detail handling, reading tiny markings or installing compact electronics would reduce enjoyment more than a larger curve and board would.
9 mm is the gauge; N is not one worldwide ratio
Gauge is the distance between the rails. Scale is the ratio between model and prototype. For the mainstream N-gauge systems here, the rails are 9 mm apart, but the ratio changes with modelling convention and prototype. Read the exact vehicle label before mixing structures, figures or dimensional calculations.
| Context | Published ratio | Beginner consequence |
|---|---|---|
| Ordinary Japanese-outline N | Usually 1:150 in KATO's explanation | Use the exact product ratio for scale calculations; do not transfer 1:160 dimensions automatically. |
| Japanese Shinkansen or foreign-outline model in KATO's explanation | 1:160 | The same 9 mm track does not mean scenery and body dimensions share 1:150. |
| NMRA standard N | 1:160 | This is the usual North American reference, not proof that a Japanese-outline product is 1:160. |
| British-outline N | 1:148 according to the N Gauge Society | English-language “N scale” advice may assume a different ratio from a Japanese layout. |
If you need to move a real dimension between ratios, use the 1:150 versus 1:160 converter. Track gauge answers only the rail-spacing question; it does not prove radius, platform, coupler, feeder or controller compatibility.
The minimum complete first-loop system
KATO frames the beginner system around vehicle, track and control; TOMIX's beginner material makes the power connection explicit. For an actual purchase, record five evidence fields:
- A powered vehicle: a motor or M car must be present in the exact formation.
- A complete route: enough compatible sectional track to make the documented loop or plan.
- A controller: the exact power pack or power unit listed for that system.
- A feeder: the documented cable or feeder track that carries controller output to the rails.
- The specified power supply: the exact adapter or input arrangement required by that controller in the market where it will be used.
Exclusive tool 1: the exact-SKU completeness ledger
A store title such as “starter”, “basic” or “add-on” is not a contents guarantee. Fill one row per candidate using the manufacturer page, the photographed box label and the instruction sheet. Leave a field blank until the evidence names the exact catalog number.
| Ledger field | PASS evidence | HOLD condition |
|---|---|---|
| Exact identity | Maker, current catalog number and box name match across listing and official page. | Only a train name, old photo, translated nickname or retailer bundle title is shown. |
| Powered car | Official contents identify the motor, powered or M car in this exact box. | The pictured train looks complete, but motor status is absent or belongs to another set. |
| Track route | Contents make a complete documented loop with named curve and straight parts. | The box is an expansion, rail set or partial plan whose missing sections are unknown. |
| Control chain | Controller, feeder and specified supply are all listed, including any item sold separately. | A controller photo appears, but the feeder or supply is omitted from the contents. |
| Fit evidence | The train's official minimum radius or cleared list is compatible with the exact curves. | Compatibility is inferred from “N scale”, brand, vehicle length or another release. |
| Purchase boundary | Condition, included manuals, return route and replacement responsibility are clear. | The seller cannot confirm catalog number, contents or what happens if the box is incomplete. |
Only when every dependency is documented does the lowest price become comparable. This ledger is more useful than a generic shopping list because it exposes exactly which unknown would stop the first run.
Starter set, track set or train box?
KATO's Starter Set page and TOMIX's all-in-one Basic/First pages are designed around a train plus its initial running system. By contrast, KATO M1/M2 and TOMIX My Plan products build a track-and-control starting point for someone choosing rolling stock separately. A vehicle add-on set may extend a formation without providing a motor. Product families change, so use the following as a classification, not as a substitute for the exact contents list.
| Box role | Usually solves | Still verify | Best fit |
|---|---|---|---|
| KATO Starter Set | Named train plus initial UNITRACK and power system | Exact formation, powered car, included curve, supply and regional input | First buyer who wants the named train |
| TOMIX all-in-one Basic / First set | Named train plus initial FineTrack and power system | Exact edition, powered car, track plan, included/sold-separately items | First buyer who wants the named train |
| KATO M1/M2 or TOMIX My Plan-type system set | Track, feeder and control foundation | No assumption that rolling stock is present | Buyer who has chosen a separate powered train |
| Train or add-on vehicle set | Rolling stock or formation extension | Motor status and every required running-system item | Existing layout, or part of a deliberately separate bundle |
| Rail/expansion set | Additional geometry | Whether it closes a route and whether control equipment is absent | Expansion after the first loop works |
For an item-by-item comparison, continue to which starter boxes actually include a train.
Exclusive tool 2: the First-Loop Fit & Power Go/No-Go
Run these four gates in order. A green result at one gate cannot compensate for an unknown at the next.
1. Train gate
GO: exact product and powered car documented. HOLD: motor status inferred from the photo or train name.
2. Radius gate
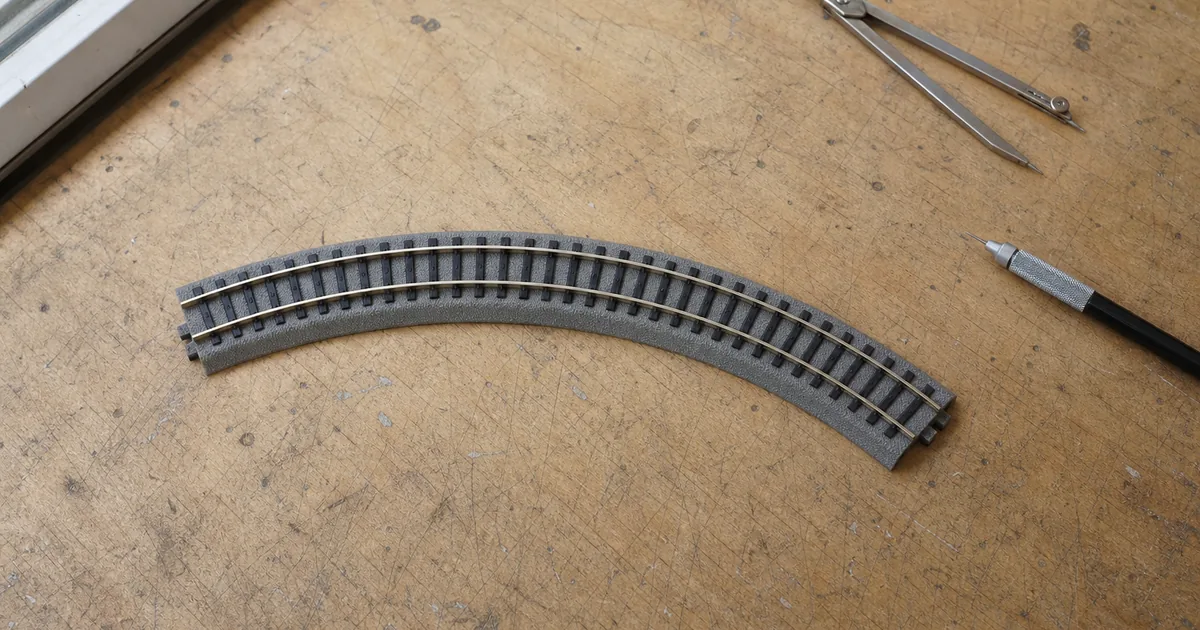
GO: the exact train is cleared for the included curve or the curve meets its published minimum. HOLD: “short vehicle” is the only reason.
3. Footprint gate
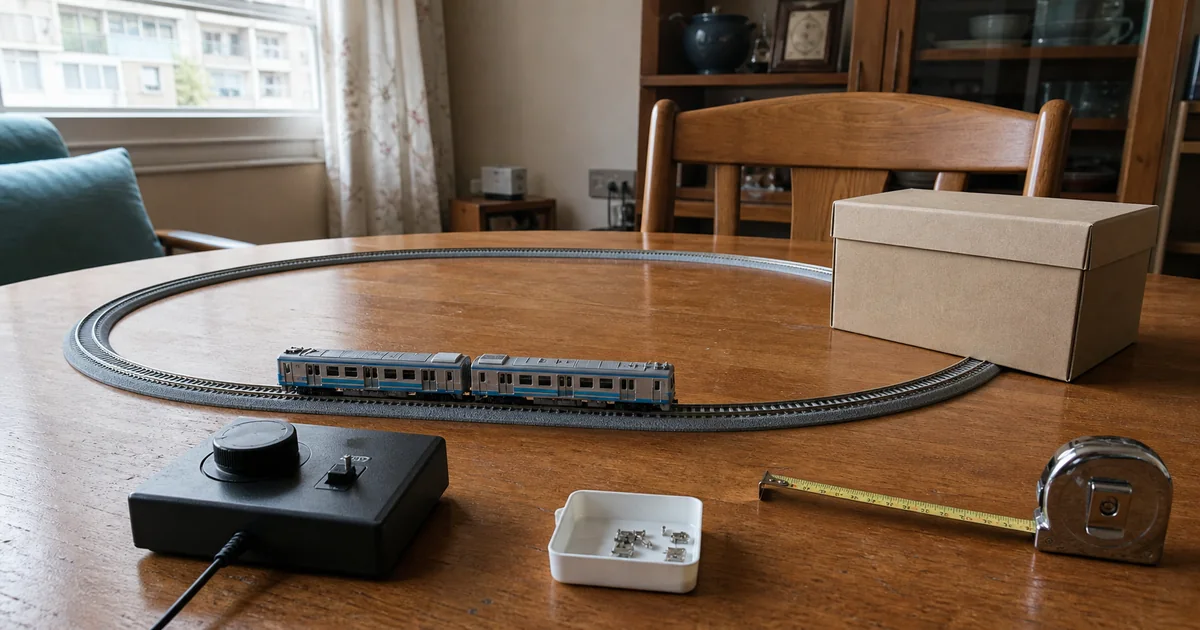
GO: the complete official plan fits a flat surface, then a dry run leaves room for vehicle overhang, handling and the edge. HOLD: only board dimensions or curve diameter were compared.
4. Power gate
GO: track, feeder, controller and specified supply form one documented chain. HOLD: a plug appears to fit or a third-party listing says “compatible” without electrical evidence.
KATO's compact curves and TOMIX's mini-curve system both publish vehicle restrictions or cleared lists. That is why “short trains take tight curves” is not a safe rule. Bogie swing, steps, underframe details, coupler travel and the design of the model all matter. Use the N scale radius and baseboard guide after choosing the exact train.
KATO train on TOMIX track: separate the boundaries
TOMIX says other makers' N-gauge vehicles can generally operate on FineTrack, while noting exceptions. That supports a vehicle-on-track starting hypothesis, not a promise that every boundary transfers. The first loop is easier when track, feeder, controller and supply remain in one system; treat the vehicle as a separate fit check.
| Boundary | What 9 mm tells you | What still needs proof |
|---|---|---|
| Vehicle on track | Nominal rail spacing | Minimum radius, turnout/frog behavior, wheel/rail standard and clearance |
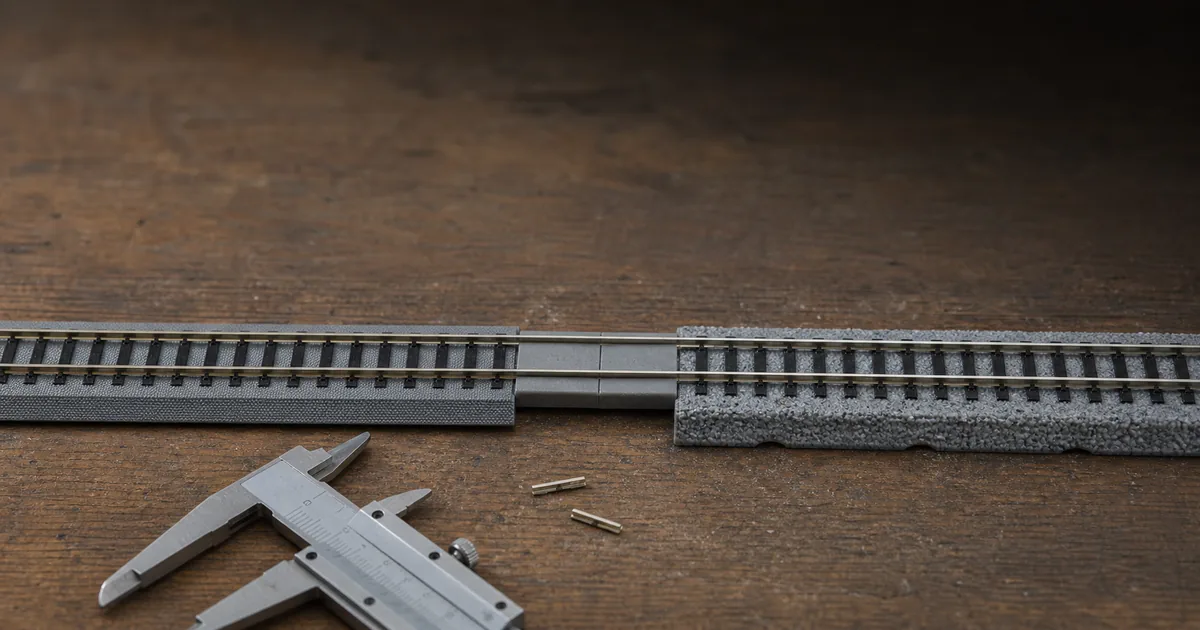
| Track-to-track | Nothing about roadbed or joiner interface | Mechanical adapter, geometry, height, spacing and electrical continuity |
| Feeder/controller | Nothing | Connector, output, polarity, protection and exact system instructions |
| Couplers | Nothing | Head, mount, height, spacing and actual operation at each car end |
If a later plan genuinely needs both track families, use the dedicated KATO–TOMIX track adapter and wiring guide. Do not introduce that boundary just to make the first oval more complicated.
Start with DC or DCC?
Start with the system documented for the exact train and set. Many Japanese beginner sets use analog DC: rail voltage and polarity control the train, which makes one powered formation on one loop straightforward. DCC can independently address compatible decoder-equipped locomotives, but “N scale” does not say a vehicle is decoder-ready, and the installation path varies.
On one ordinary, unsectioned analog DC section, two trains share the same rail command and cannot be independently driven. If independent operation is already a real requirement, compare an isolated-section DC plan with a documented DCC path before buying the second train. The detailed decision is in DC versus DCC for N scale.
Compare cost without publishing a stale budget
Do not compare a complete starter set with a cheap train-only or track-only box. On the same day, make two columns:
- Complete-set total: exact starter-set price plus any supply or required item not included.
- Separate-system total: powered train, complete track route, controller, feeder and specified supply.
Add delivery, tax or import charges, payment conversion, missing accessories and the practical cost of a return as separate rows. Record seller, date and currency. This method stays useful when prices and stock change because the comparison unit is the same verified first loop, not an arbitrary box.
Seven steps to the first safe run
1. Choose one exact train first
Record the maker, exact product number, scale ratio and the official minimum-radius or cleared-track guidance. Do not choose the loop before you know the train.
2. Build the exact-SKU ledger
Use the current manufacturer page, box contents and instruction sheet to record the powered car, track, controller, feeder, specified power supply and return terms. An unknown field is HOLD, not an assumption.
3. Verify the motor and box contents
Confirm that the set contains a powered or M car and enough track for the stated loop. A track set or add-on train set may contain no powered vehicle.
4. Pass the radius and footprint gates
Confirm that the included or chosen curve meets the exact train's official guidance, then verify the complete loop footprint on a flat surface with room for overhang, handling and the table edge.
5. Keep the first power chain within one system
Use the controller, feeder and manufacturer-specified power supply documented for one track system. A matching plug alone is not compatibility evidence.
6. Assemble with track power off
Join track flat and fully, connect the feeder as instructed, place every wheel on the rails and keep the controller at STOP or off while handling the train.
7. Power on slowly and record the baseline
Run the shortest powered formation slowly in both directions. Stop for derailment, protection trips, odor, heat or abnormal noise; otherwise record the train, radius, controller and successful configuration before expanding.
What to buy only after the loop is reliable
| Observed need | Useful next step | Delay until proven |
|---|---|---|
| Stall or flicker | Repeatable cleaning and feeder/joiner diagnosis | A second train or more turnouts |
| Train binds on curves | Radius and clearance correction based on the exact model | Permanent scenery beside the track |
| One reliable loop, want passing operation | Track plan, turnout behavior and a power-control plan | Buying geometry before measuring the surface |
| Want independent trains | Decide isolated DC sections or a documented DCC path | Assuming a second controller can share one section |
| Want realism | Choose a route, era and operation before structures or scenery | Bulk scenic purchases with no prototype brief |
Why Japan has such a system-led N-gauge entry path
Railway-culture answer: KATO's official history says Sekisui Kinzoku released Japan's first mass-produced N-gauge models in 1965—the C50 steam locomotive and Oha 31 coach. TOMIX's official beginner history dates the TOMIX brand to September 1976 and frames its purpose around making full-featured railway modelling approachable to beginners. The practical inheritance is a system-led entry path: vehicle, sectional track, feeder and controller are presented as a coordinated first experience. That history does not require lifelong brand loyalty; it explains why proving the first system boundary is more useful than buying isolated “N scale” boxes.
Official and first-party sources
Checked 2026-08-11. Product families and contents can change. Each manufacturer source controls only the product or system it names; ROKHELM's ledger and Go/No-Go gate are editorial decision tools, not manufacturer standards.
- NMRA — model railway scales
- KATO FAQ — N gauge and Japanese 1:150 / 1:160 conventions
- N Gauge Society — gauge and British 1:148 convention
- TOMIX beginner guide — basic N-gauge system and first operation
- KATO UNITRACK — Starter Sets
- KATO UNITRACK — M1 and M2 track systems
- TOMIX — all-in-one Basic Sets
- TOMIX — First Set
- TOMIX official FAQ — cross-brand running, power, control and safety boundaries
- KATO UNITRACK — compact-curve vehicle restrictions
- TOMIX — Super Mini and Mini Curve cleared-vehicle list
- KATO FAQ — power-pack capacity and system boundary
- KATO — brand history and Japan's 1965 mass-produced N gauge
- TOMIX — beginner portal and brand history
Turn the verified parts into a loop
Frequently asked questions
Is Japanese N scale good for a beginner?
It can be a strong first choice when you want long trains or scenery in limited space and are comfortable checking exact product numbers. A complete KATO or TOMIX starter set reduces missing-part risk, but N scale is not automatically the right choice for every eyesight, dexterity, budget or prototype preference. Compare N with a larger scale before buying if handling small parts is difficult.
What do 9 mm, 1:148, 1:150 and 1:160 mean?
For the mainstream N-gauge systems discussed here, 9 mm is the track gauge: the distance between the rails. The ratio is the model scale. KATO lists ordinary Japanese-outline N vehicles at 1:150 and Shinkansen or foreign-outline models at 1:160; NMRA standard N is 1:160, while the N Gauge Society lists British-outline N at 1:148. Read the exact product label rather than assuming every N model has one ratio.
What is the minimum I need to run a first loop?
You need a vehicle set containing a powered or M car, enough compatible 9 mm track for a complete route, a controller, a feeder that connects that controller to the track and the manufacturer-specified power supply. The easiest first purchase is an exact starter-set number whose official contents list documents all five.
How can I tell whether a train set has a motor?
Check the current manufacturer product page, box contents and instruction sheet for a powered car, motor car or M designation tied to the exact product number. A train name, a photo or the word add-on does not prove it can move by itself; many add-on formations contain only unpowered cars.
What is the difference between a starter set and a track set?
The exact contents, especially the train. KATO Starter Sets and TOMIX all-in-one Basic or First sets pair a train with track and control equipment. KATO M1/M2 and TOMIX My Plan products are ways to start or expand the track and power system without necessarily supplying rolling stock. Read the official contents list instead of relying on a retailer's category name.
How much space does a first N scale loop need?
There is no universal N scale footprint. Choose the exact train, find its official minimum-radius or cleared-vehicle guidance, then use the chosen track plan's documented footprint. Dry-lay the full loop on a flat surface and check vehicle overhang, roadbed, hand access and distance from the edge before calling the surface large enough.
Can a KATO train run on TOMIX track?
TOMIX says other makers' N-gauge vehicles can generally run on FineTrack but notes exceptions. That does not make the rail joiners, feeders, controller plugs, curve limits, turnouts, couplers or clearances universally interchangeable. For a first loop, keep track, feeder, controller and specified supply in one documented system, then verify the exact train separately.
Should a beginner start with DC or DCC?
Start with the control system documented for the exact train and starter set. Many Japanese starter sets are analog DC and are the shortest path to one train on one loop. Choose DCC at the start only when the exact vehicles are decoder-ready or have a documented installation path and you need independent control; N scale alone does not guarantee DCC readiness.
Can two trains be controlled independently on one DC loop?
Not on one ordinary, unsectioned analog DC electrical section: both trains respond to the same rail voltage and direction. Independent operation requires an appropriate isolated-section and controller plan or a compatible digital system. Follow the exact controller, wiring and vehicle documentation before adding a second train.
Do short N scale vehicles always run on very tight curves?
No. Body length is only one factor; bogie swing, couplers, steps, underframe details and the manufacturer's design also matter. KATO and TOMIX publish restrictions or cleared-vehicle lists for their compact and mini-curve systems. Use the exact model's evidence, not its visual length.
How should I compare the cost of starting N scale?
Compare exact product numbers on the same day. Put the landed total for one complete starter set beside the total for the equivalent powered train, track, controller, feeder and specified supply bought separately. Add shipping, taxes or import charges, payment conversion, missing accessories and return cost as separate rows; do not rely on an undated universal budget.
What should I do before the first power-up?
Inventory the exact box against its instruction sheet, assemble the loop flat with power off, seat every joiner and wheel, connect only the documented feeder and supply, and confirm the formation contains its powered car. Start at low speed with the shortest powered formation and stop immediately for a derailment, protection trip, odor, unexpected heat or abnormal noise.