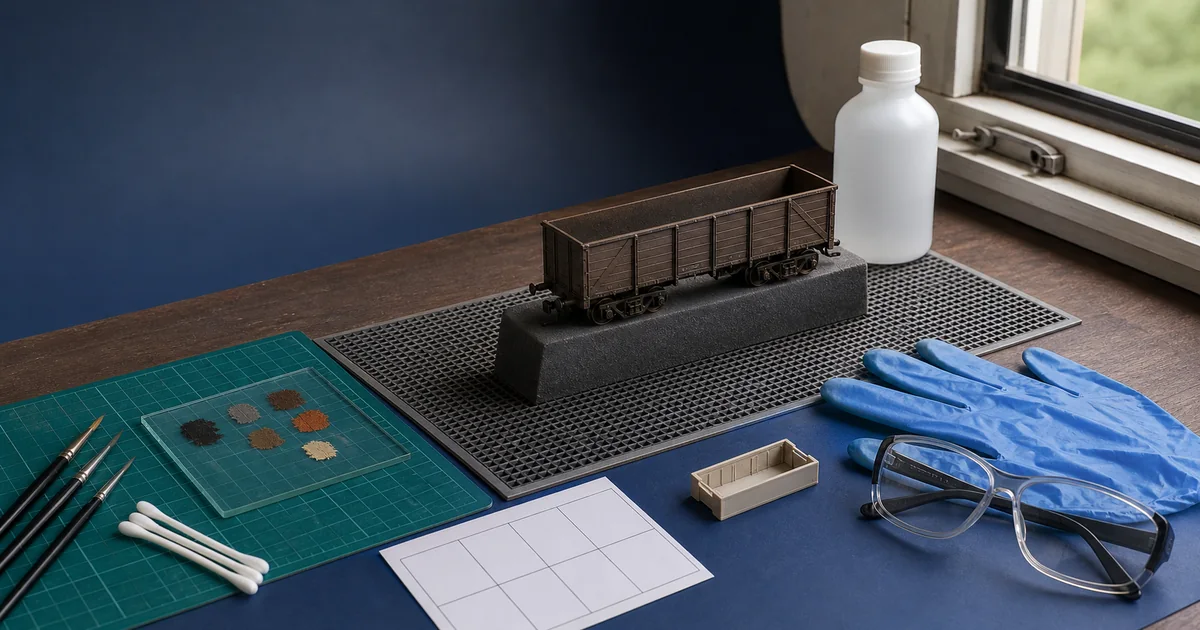
Good weathering is not a brown filter spread over a train. It is a record of what the vehicle is made from, where it worked, what deposited the mark, how water and air moved across it, and where cleaning or maintenance interrupted that pattern. The beginner problem is therefore not “Which rust color should I buy?” It is “What evidence says this mark belongs here, and what is the least risky medium that can reproduce it?”
Build a prototype cause-to-location card first
Most tutorials say “look at prototype photos,” but that is too vague to guide a brush. Before opening a product, turn one or more dated photographs into a small evidence card. If the image is undated, from a different operator, or taken after withdrawal, record that uncertainty instead of presenting it as the normal appearance of the whole class.
| Evidence field | Question to answer | Model decision |
|---|---|---|
| Identity and date | Exact vehicle, operator, route, season and approximate maintenance state? | Defines which photo can legitimately guide this model |
| Cause | Exhaust, brake material, road dust, rain, lubricant, cargo, corrosion, sun or a repair patch? | Determines color family, edge and texture |
| Source zone | Where does the deposit start: roof vent, brake gear, axlebox, door seam or cargo opening? | Places the strongest part of the effect |
| Direction | Gravity, airflow, wheel rotation, spray or repeated handling? | Sets the streak or fade direction |
| Interruption | Where would washing, replacement, polishing or crew contact remove or reset the mark? | Prevents one uniform layer across every panel |
| Functional boundary | Could the model medium reach a tread, pickup, gear, light guide, window or coupler mechanism? | Creates the mask/avoid map before application |
This card is also your A/B check. Photograph the unweathered model under fixed light, apply only one mapped effect, then repeat the same view. The model photography guide explains how to keep light, angle and focus consistent enough for that comparison.
Finish-stack passport: record the layer, not just the color
A successful test belongs to one recorded coating stack. It does not prove that the same wash, thinner or clear coat is safe on another production run, unknown factory finish or differently cured base layer. Complete this passport before any liquid or spray step; if a controlling field is unknown, keep that step on HOLD and use a lower-commitment method.
| Passport field | Record | Why it controls the decision |
|---|---|---|
| Model identity | Maker, full catalog number, production/reissue clues and body-removal instructions | A train name or body style does not identify the plastic, print or coating stack. |
| Existing surface | Bare material, primer, factory color, printing/decals, prior clear coat and glazing | The top color alone does not reveal what a liquid can reach at a seam or edge. |
| Proposed layer | Full product name, batch if available, carrier/binder, named thinner or fixative, and intended zone | “Acrylic,” “enamel,” “powder” and “clear” are families, not compatibility evidence. |
| Application boundary | Brush/spray method, layer order, masking, functional avoid-map and work conditions required by label/SDS | Overspray and capillary travel can reach places that the visible brush mark does not. |
| Representative test | Known sample stack, amount, observation time, fixed-light before/after image and permitted recovery method | A hidden spot may expose only one material and cannot prove long-term durability. |
| Dry/recoat/cure record | Start time, product-specific milestone used, temperature/airflow notes and next allowed operation | Touch-dry is not automatically ready for masking, another chemistry or reassembly. |
| Change trigger | Any new bottle, production run, substrate, prior layer, thinner, ratio, spray method or clear coat | A changed stack reopens compatibility and recovery; an earlier PASS cannot be copied forward. |
Six steps to weather an N scale model without an airbrush
1. Define the prototype target
Choose one vehicle, period, route and maintenance state. Build a cause-to-location card from dated reference photographs so every streak, fade or deposit has a reason and direction.
2. Record the exact model and products
Write down the model maker and catalog number, known shell and coating information, and the full names of every powder, wash, thinner and clear coat. An unidentified bottle or unknown factory finish keeps liquid work on hold.
3. Test the least permanent method
Begin on a replaceable model or representative coated sample with the lowest-commitment medium that can make the effect. A hidden-spot test can reveal an immediate reaction, but it does not prove whole-shell or long-term compatibility.
4. Build thin dry layers
Apply a small amount of powder or pastel by cause and zone, photograph it under fixed light, then stop and compare with the reference. Do not assume every powder is removable; porous surfaces and products with binders may retain pigment strongly.
5. Escalate one medium at a time
Use a wash, enamel product, airbrush or clear coat only after its label or technical sheet supports the substrate and your test passes. Follow that exact product's application, ventilation and drying instructions; there is no universal dilution or waiting time.
6. Clean and release the model
Keep residue away from wheel treads, pickups, gears, coupler mechanisms and glazing. After the stated drying or cure period, inspect those functional zones, reassemble, hand-roll where appropriate, then test slowly in both directions and stop on any new bind, noise, flicker or heat.
Powder, wash, dry brush or airbrush?
The NMRA beginner guide explicitly says an airbrush is not required: pencils, chalks, powders and washes can all contribute. The right choice comes from the effect and the surface, not from a hierarchy in which more equipment automatically means more realism.
| Medium | Useful for | Commitment and control | Gate before use |
|---|---|---|---|
| Powder or pastel | Dust, soot, fading and localized deposits | Easy to build in thin dry layers, but commercial powders may contain binders and porous surfaces can hold pigment strongly | Read the product warning; test adhesion and reduction on a representative surface |
| Dry brushing | Raised edges, worn texture and selected highlights | Paint is more permanent than loose pigment and can make N scale detail look coarse if overloaded | Confirm paint/substrate compatibility and unload the brush on a separate card first |
| Water-based wash | Recesses, tonal variation and controlled streaks | “Water-based” describes a carrier family, not universal compatibility or removability | Use that exact product's technical sheet, correction medium and timing |
| Enamel panel liner | Panel lines on a documented compatible coating | Low-viscosity liquid can travel into seams; plastic or the base coat may be affected | Exact substrate/coating evidence, test, minimal application and the specified thinner |
| Airbrush or aerosol | Broad fades and controlled gradients when the operator has suitable equipment | Adds overspray, mist/vapor and a more permanent coating layer | Product-specific extraction, ignition control, PPE, substrate and coating-stack checks |
| Clear coat | Handling resistance or a deliberately changed sheen | May darken, dissolve, move or greatly reduce an existing powder effect | Test the entire stack, not the clear coat alone |
Vallejo's Model Wash brochure, for example, identifies its own product as a modified acrylic-resin, water-based system and publishes its own average drying and recoat guidance. That is useful evidence for that product, not a universal clock for another acrylic wash, enamel, powder binder or varnish.
For N scale, control contrast before adding detail
The scale label does not supply one dilution ratio or one brush size. What changes at small scale is how easily a dark line, rust chip or powder grain dominates the model. Use normal viewing distance and a close photograph for different jobs: the first judges the overall massing, while the second reveals deposits on glazing, printing or mechanisms.
Start with broad causes
Choose one restrained roof fade, lower-body dust zone or underframe tone. If those relationships do not read correctly, extra chips and streaks will not rescue them.
Separate neighboring tones
Use nearby greys and earth colors before pure black or bright orange. The prototype photo, not a generic “rust set,” decides whether the contrast belongs.
Break fleet repetition
Cars in one consist can share route dust yet differ by wash, repair and overhaul timing. Copying the same mark onto every car removes that story.
Stop at the operating view
A mark that looks subtle in a macro photo can read as a stripe on the layout. Compare both views after every layer and keep the photo setup constant.
The permanence ladder and five Go/No-Go gates
Move from lower to higher commitment only when the next medium adds something the evidence card actually needs. Dry does not mean removable, and water-based does not mean harmless. The ladder is a decision order, not a chemistry ranking.
| Gate | GO when | HOLD or STOP when |
|---|---|---|
| 1. Evidence | The cause-to-location card shows why this effect belongs | The instruction is only “make it dirtier” |
| 2. Exact product | Maker, product name, carrier/binder, thinner and clear coat are known | A bottle is decanted, unlabeled or described only as “wash” or “solvent” |
| 3. Substrate and coating | The exact maker instruction supports the surface, or a representative known coating stack is available | Factory paint, bare plastic, printing or glazing is unknown and the liquid step is optional |
| 4. Test and recovery | The test shows no adverse change through the stated cure period and the maker's correction method is known | Softening, tackiness, whitening, cracking, warping, haze or print transfer appears |
| 5. Function and exposure | Media cannot migrate to functional zones and label/SDS work conditions can be met | Capillary paths reach the chassis, or ventilation/ignition/PPE requirements cannot be satisfied |
Protect the parts that make the train run
Remove the model from powered track before opening or working on it. If the body instruction provides a safe separation method, working on the shell away from the chassis reduces the chance of pigment or liquid reaching the mechanism. Do not lever an unfamiliar shell apart just to follow a generic tutorial.
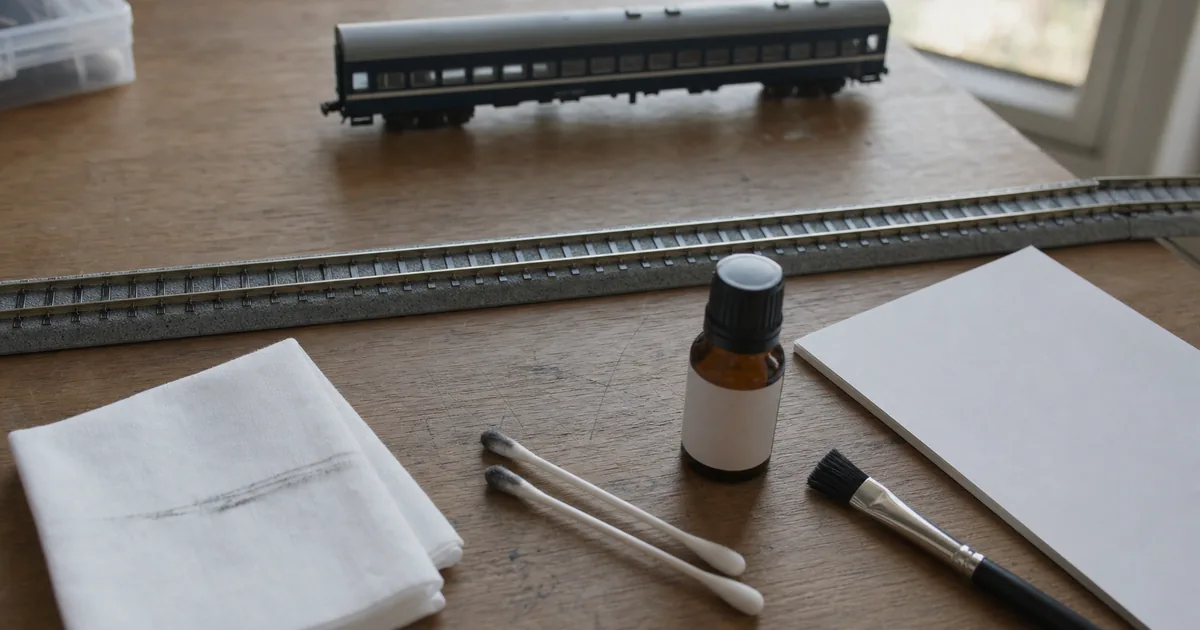
- Wheel treads and pickup contacts: residue can interfere with electrical contact or traction. KATO's maintenance guidance connects clean rail and wheel surfaces with steadier current collection.
- Gears, bearings and axles: loose particles, paint or migrated liquid can change movement or lubrication conditions.
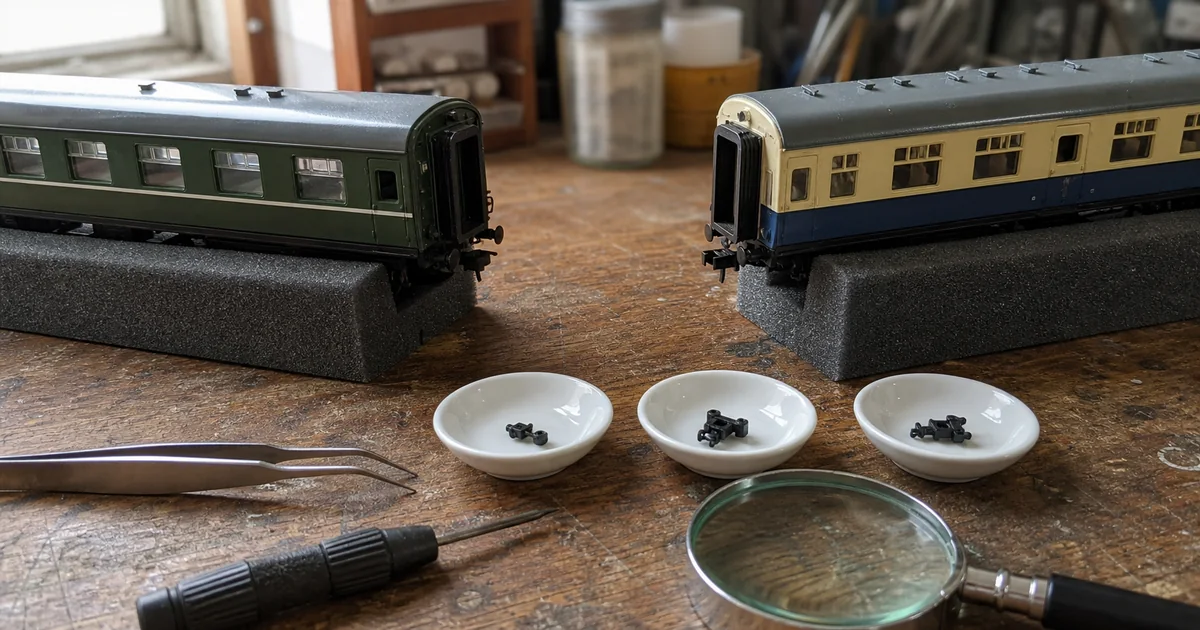
- Coupler mechanisms and body interfaces: added thickness or deposits can restrict movement. Check the exact coupler and mounting before masking; the coupler compatibility guide explains why each car end is its own boundary.
- Glazing, light guides and lenses: paint, thinner and clear coat can haze, stain or change transparency. Protect both visible surfaces and capillary paths at their edges.
- Printing and small applied details: use minimal pressure and stop on any color transfer or loosening.
Operational release certificate: appearance is not the final gate
Do not return the vehicle to a normal consist simply because the finish looks dry. Record one release certificate for the exact post-weathering configuration; any failed or unexplained field returns the model to HOLD.
| Release check | PASS evidence | STOP or HOLD |
|---|---|---|
| Cure and reassembly | The controlling product milestone has passed; shell, glazing, light guides and clips seat without force. | Tacky finish, trapped odor contrary to instructions, haze, warped fit or resistance at a clip. |
| Functional clean zones | Wheel treads, pickups, bearings, gears, electrical contacts and coupler mechanisms are free of new residue. | Unknown liquid path, pigment in a mechanism or cleaning would require an unapproved solvent. |
| Unpowered movement | Where the model permits it, the vehicle hand-rolls and couplers move as they did on the recorded pre-work check. | New drag, binding, wheel lift, restricted bogie swing or coupler centering failure. |
| Low-speed powered test | On a clean test section, pickup, direction, lighting and sound match the pre-work baseline in both directions. | New flicker, noise, heat, odor, stalling, arcing or repeated uncoupling. |
| Post-run inspection | No pigment transfer, rubbing mark, loose detail or migration appears after the short test. | Any transferred color, fresh contact mark or material reaching wheels, rail or adjacent vehicles. |
| Record closure | Date, product stack, test track, vehicle orientation, result and exceptions are attached to the passport. | The result depends on memory or an exception is accepted without a cause. |
The release certificate is an editorial control record, not a warranty or substitute for the model and finishing-product instructions. If pickup or running changed, use the train-versus-location cross-test before adding more cleaner, and keep weathering media away from the layout until the cause is known.
Recovery matrix: identify the medium before touching it
The highest-risk rescue move is adding a stronger solvent without knowing the coating stack. Freeze the process, photograph the problem and write down the last product used. Then stay inside that maker's documented correction system.
| Situation | First move | Do not assume | Stop condition |
|---|---|---|---|
| Dry layer looks too strong | Use only the maker-permitted dry reduction method on a small zone | That every commercial powder brushes off cleanly | Surface sheen changes or printing transfers |
| Water-based wash pools at an edge | Use that product's specified correction medium on a validated surface | That all acrylic or water-based systems mix safely | Base color lifts, softens or blooms |
| Enamel liner overruns a panel | Only after a passing test, use the smallest amount of specified thinner as directed | That soaking or repeated scrubbing is safe | Plastic, paint, print or joint changes |
| Clear coat changes the effect | Stop and allow the stated cure; assess before adding another coat | That more clear will restore the original powder color | Wrinkling, cracking, tackiness or fogging |
| Unknown product or factory finish reacts | Isolate the model and consult the product label, technical sheet and safety data | That a safety data sheet proves substrate compatibility | Any continuing material change, heat or exposure symptom |
Should you seal it, and how long should you wait?
There is no universal “seal every powder” rule. The NMRA notes that fixative can significantly tone down powder weathering and says some example models were operated without an overspray. Sealing is therefore a handling and appearance decision with its own compatibility test, not a graduation ceremony that makes the model complete.
Likewise, do not convert one product's timing into a general waiting period. Labels may distinguish open time, touch-dry, recoat and full cure. Record the actual product, layer thickness, indoor conditions and time. If the next layer or reassembly requires a full cure, a surface that merely feels dry is not a pass.
Powder, mist and vapor are different exposure problems
Start by removing the hazard where possible: use the lowest-commitment non-spray method that achieves the effect, keep quantities small, exclude ignition sources before opening a flammable product, and follow the label and safety data for the exact material.
- Powders: do not blow them off, eat over them or dry-sweep spilled material. Product-specific warnings matter: Vallejo's 2026 Pigment FX catalogue, for example, warns that hazardous respirable dust may form.
- Aerosols and solvent products: do not treat an open window or lack of odor as proof of adequate control. Follow the product's ventilation, ignition, eye, skin and respiratory instructions.
- N95 boundary: NIOSH states that filtering facepiece respirators filter particles and do not protect against gases or vapors.
- Respirator selection: OSHA requires identifying the contaminant type and exposure before selecting protection. Do not guess that a generic cartridge solves an unknown vapor or spray exposure.
- Storage and disposal: EPA says paints and cleaners may qualify as household hazardous waste. Keep original labels, never store hazardous products in food containers, never mix leftovers, and follow the product and local waste authority rather than pouring material into a drain.
If something goes wrong: stop the work, leave the exposure area, keep other people and pets away, and follow the product's emergency and first-aid instructions. Do not operate a switch or create a spark in a potentially flammable atmosphere.
Official and first-party sources
Last checked 2026-08-25. The NMRA pages describe beginner techniques and hobby safety; manufacturer pages control only the named products; NIOSH/OSHA define respiratory boundaries; EPA addresses U.S. household disposal principles; JR East supports the 211-series and wash-line history. Local rules and each current product label/SDS still control.
- NMRA Beginner's Guide Part 10: Weathering — no-airbrush methods, surface differences and the effect of fixative.
- NMRA Modeling Safety — ventilation, paint vapor and dust-mask limits.
- Tamiya Weathering Master C — product-specific effect colors.
- Tamiya Panel Line Accent Color 87131 — specified Tamiya lacquer/acrylic base coats.
- Tamiya USA Panel Line Accent Color — brittleness, moving/load-bearing parts, base-coat and test warnings.
- Tamiya X-20 Enamel Thinner — dedicated thinner scope.
- Vallejo Model Wash brochure — product formulation, application and product-specific timing.
- Vallejo 2026 catalogue — Pigment FX respirable-dust warning.
- KATO Uni Cleaner — rail/wheel contamination and current-collection maintenance.
- NIOSH Filtering Facepiece Respirators — particles, not gases or vapors.
- OSHA Respirator Selection — hazard and exposure identification before selection.
- US EPA Household Hazardous Waste — labels, storage, mixing and local disposal.
- JR East: Takasaki wash line and 211 series — vehicle history and different side/front washing methods.
Model train weathering FAQ
What is the easiest way to weather a model train?
Start with dated prototype photos and a small amount of dry weathering powder on a replaceable model. Add one thin layer at a time, photograph it under fixed light, and stop before the effect looks complete at close range. Dry-first is ROKHELM's lower-commitment starting method, not a promise that every powder will wipe off every surface.
Do I need an airbrush to weather N scale trains?
No. The NMRA beginner guide says pencils, chalks, weathering powders and washes can produce useful results without an airbrush. An airbrush is optional for broad, controlled gradients, but it adds overspray, equipment and product-specific ventilation requirements.
How do I keep N scale weathering from looking too heavy?
Assign every effect a cause, location and direction before applying it, then judge the model at normal viewing distance as well as in a close photo. Use thinner layers and lower contrast than a large-scale tutorial suggests, but do not invent a universal N-scale dilution: product instructions and the specific reference image still control.
Should a beginner use weathering powders or a wash first?
Use the least permanent method that can create the effect. Powder is a practical first choice for dust, fading and localized grime; a compatible wash is better for recesses and controlled streaks. Neither category is automatically removable or compatible with factory paint, so read the exact product information and test it.
Can I use Tamiya Panel Line Accent on a factory-painted shell?
Do not assume that any factory finish is compatible. Tamiya's global page specifies its Panel Line Accent Color over Tamiya Color lacquer or acrylic paint, while Tamiya USA warns that the product may make plastic brittle, can damage a base coat and should be tested. If the model's material and coating are unknown, keep that liquid step on hold.
Is a hidden-spot test enough before using a solvent product?
It is useful for detecting an immediate problem, but it is not a guarantee. A hidden spot may differ in paint thickness, stress or liquid pooling, and a short observation cannot prove long-term durability. Stronger evidence is an exact manufacturer instruction or a representative sample with the same known material and coating stack; otherwise choose a lower-commitment method.
What parts of a model train should stay free of weathering?
Keep media away from wheel treads, pickups, gears, bearings, electrical contacts, coupler mechanisms, light guides and glazing unless the exact model and product instructions explicitly cover them. Residue can interfere with electrical contact, traction or movement, while liquid or clear coat can haze or stain transparent parts.
Should weathering powders be sealed with clear coat?
Not automatically. The NMRA notes that a fixative can significantly tone down powder effects, and some models in its guide were left unsealed. A clear coat also adds another compatibility and vapor decision, so test the full powder-and-coat stack and seal only when the handling requirement justifies the change.
How do I remove weathering that is too dark?
Stop and identify the last medium before attempting removal. Reduce unsealed dry material only by the method that its maker permits; use a wash's specified correction medium only on a validated coating; never escalate to a stronger solvent by guesswork. Softening, tackiness, whitening, cracking or print transfer is a stop condition, not a cue to scrub harder.
How long should I wait between weathering layers?
Use the exact product's label or technical sheet and distinguish touch-dry, recoat and full-cure times. Vallejo, for example, publishes timing for its own Model Wash, but that does not become a rule for another wash, powder binder, enamel or clear coat. Temperature, airflow, layer thickness and the coating system also matter.
Does an N95 protect against enamel thinner or spray-paint vapor?
No. NIOSH says filtering facepiece respirators such as N95s filter particles and do not protect against gases or vapors. Respirator selection requires identifying the contaminant and exposure; do not guess a cartridge. Prefer substitution and effective ventilation, and do not use the product if you cannot meet its label and safety-data requirements.
How do I know a weathered model is ready to run?
Wait for the exact product's stated drying or cure period, then inspect wheel treads, pickups, gears, coupler mechanisms, glazing and body-to-chassis interfaces. Clean only with methods approved for those parts, reassemble, hand-roll where appropriate, and test slowly in both directions. Stop if you introduce binding, noise, flicker, heat or repeated uncoupling.
Make the vehicle and the scene tell the same story
Carry the same location, era and maintenance logic into the ground, track and camera setup.