A fault is easiest to fix before three well-meant interventions hide it. Cleaning the whole layout, changing a feeder and opening a locomotive in one session may make the symptom disappear, but it also removes the evidence that says which change mattered. Start with a repeatable configuration and treat every result as a hypothesis, not a verdict.
The two-test isolation matrix
Use the same controller or command station, low speed, direction and comparable load. A “known-good” train or straight means it was verified on this system before the fault test. Do not clean or adjust anything between the two runs.
| Problem train on known-good straight | Known-good train at suspect location | Strongest next hypothesis |
|---|---|---|
| PASS | PASS | Interaction or intermittent. Reproduce the original direction, speed, load and formation. A specific train can fail only at a specific curve, frog or coupler boundary. |
| FAIL | PASS | Train-side. Inspect external wheel contamination, pickup contact, free bogie movement and the DC or DCC state allowed by the exact manual. |
| PASS | FAIL | Location-side. Inspect railhead, joiner, rail-height step, obstruction, turnout routing, feeder position, grade and recent work. |
| FAIL | FAIL | Common setup or more than one fault. Reduce again to one controller, one feeder and one short straight; prove supply and track power before cleaning or dismantling. |
Six steps to isolate the fault
1. Stop safely and name the system
Return the throttle to zero and switch off track power. Record whether the system is DC or DCC and the exact controller. If any STOP sign exists, unplug and end the test.
2. Build the smallest known-good test
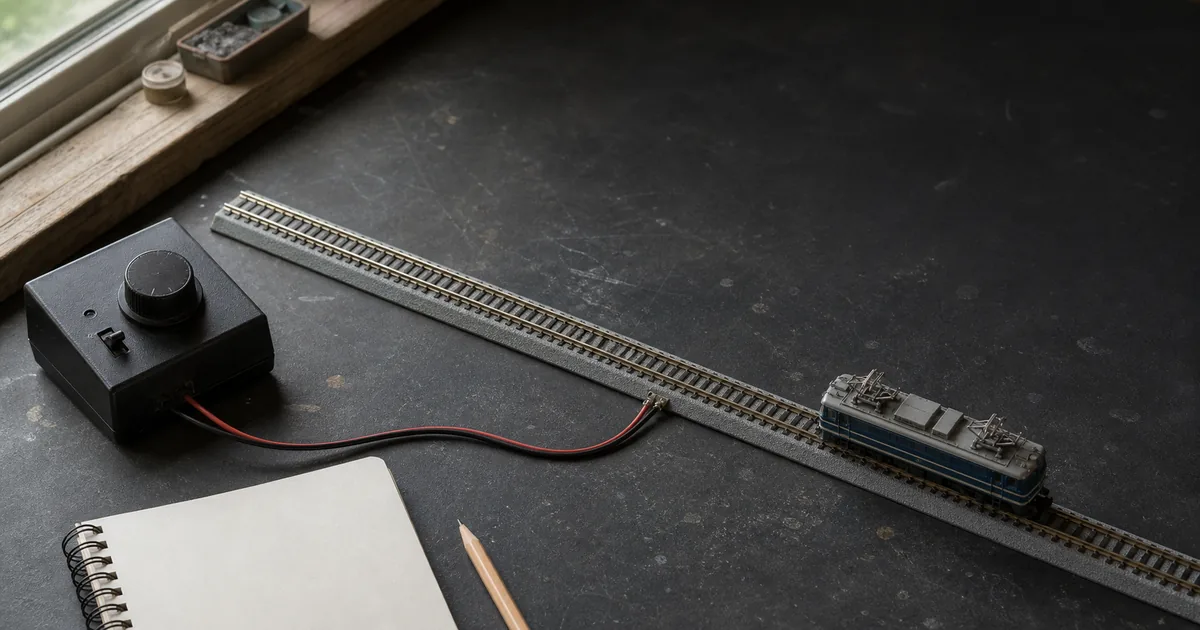
Use one controller, one feeder, a short straight and one locomotive. Remove rolling stock, turnouts and accessories from the first test.
3. Test the problem train on the known-good straight
Use the same low speed and direction each time. Record movement, lights or sound and the controller indicator without cleaning or changing the model.
4. Test a known-good train at the suspect location
Keep speed, direction and load comparable. Do not clean, adjust or replace anything between the two tests.
5. Read the 2×2 matrix
Choose the strongest train-side, location-side, interaction or common-system hypothesis. For DCC, verify track power, selected address, consist and startup state using the exact system manual.
6. Change one variable and prove the fix
Change only one item such as wheel or rail cleaning, feeder, track section, vehicle or route setting. Repeat the same test, log the result, then reintroduce one component at a time.
Symptom branch: no movement or no power
KATO's current no-movement sequence begins outside the vehicle: confirm the outlet and power pack, feeder connection, joined track, railhead and wheels before assuming an internal defect. TOMIX similarly tells beginners to verify that the feeder is fully inserted, a motor car is actually on the rails, the direction switch is selected and rail joints are connected.
- Throttle to zero, power off and check that every wheel is properly on both rails. Remove any loose metal object that could bridge them.
- Confirm the exact controller's supply and indicator behavior, then reseat only the feeder and track joints allowed by its manual.
- Use the smallest straight test and the 2×2 matrix. If multiple verified trains fail, change one external component at a time: feeder, straight section, then controller or command station only when an approved substitute is available.
- If the protection indicator trips again, or heat, odor, smoke, liquid ingress or sustained abnormal arcing appears, unplug and do not retry.
Symptom branch: stuttering, stalling or slowing
Several trains, same location
The location-side branch is stronger. Look for contamination, a loose or stepped joiner, feeder contact, turnout power routing, grade or a recent scenery obstruction. Clean only the confirmed target, then repeat the same run.
One train, many locations
The train-side branch is stronger. Inspect externally accessible wheels, pickups and free bogie movement; compare forward and reverse. Do not open the drive or add oil without the exact model instruction.
Progressive slowdown under load
Do not call it voltage drop from distance alone. Compare another train and a lighter formation, remove the grade variable, then measure or test feeders using the feeder and voltage-drop guide.
Only one curve or frog
Treat this as a train×location interaction until proven otherwise. Pickup wheelbase, overhang, wheel gauge, frog geometry, coupler load and direction can combine even when both train and location pass a different test.
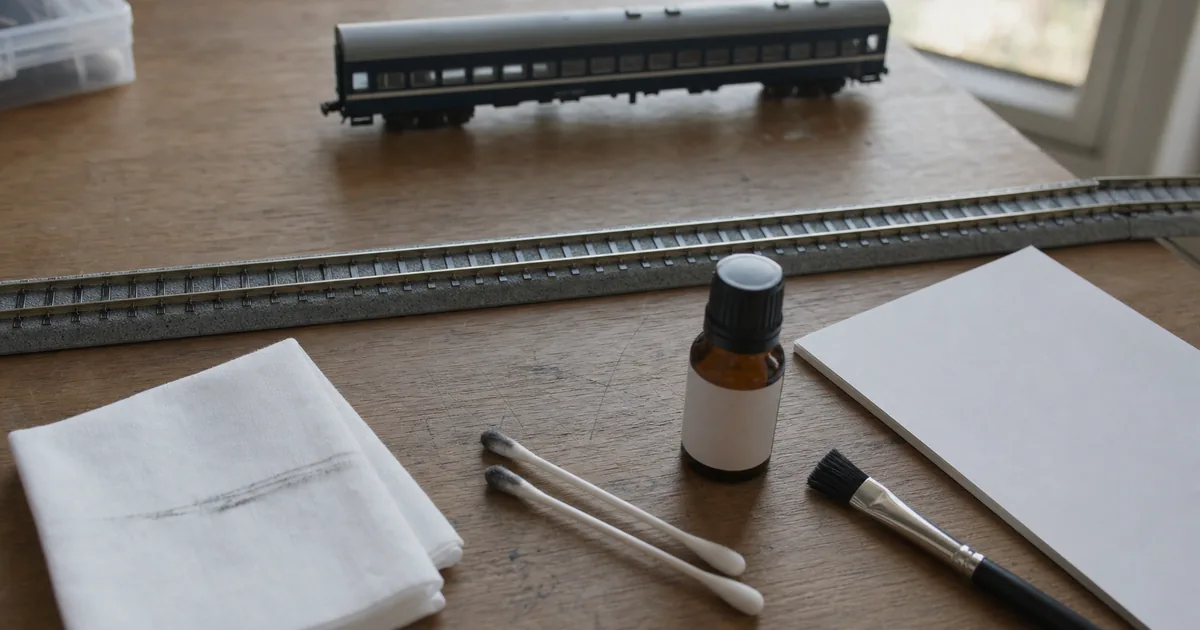
For rail and wheel cleaning products, abrasives and the post-cleaning release test, use the track and wheel cleaning guide. KATO allows only a very small amount of its named oil in the specific maintenance context it describes; TOMIX does not recommend owner oiling because it can attract dust and impair pickup. Neither statement authorizes generic lubrication.
Symptom branch: repeated derailments
Record the first wheel-climb point, not merely where the car finally falls. Note the car, direction, speed, load and any recent track, ballast or scenery work. KATO's guidance starts with correct rerailing, checking rail joints for gaps or height steps and looking at coupling behavior. The NMRA likewise recommends observing and measuring wheel/track relationships with the correct scale Standards Gage.
- Power off, re-rail correctly and verify that no skirt, wire, detail or coupler prevents the bogie from moving freely.
- With power still off, roll or push the vehicle gently through the spot without pressing down. Watch the first wheel that rises and trace backward from it.
- Repeat in both directions with the single vehicle or shortest safe formation, then compare a verified train at the same speed.
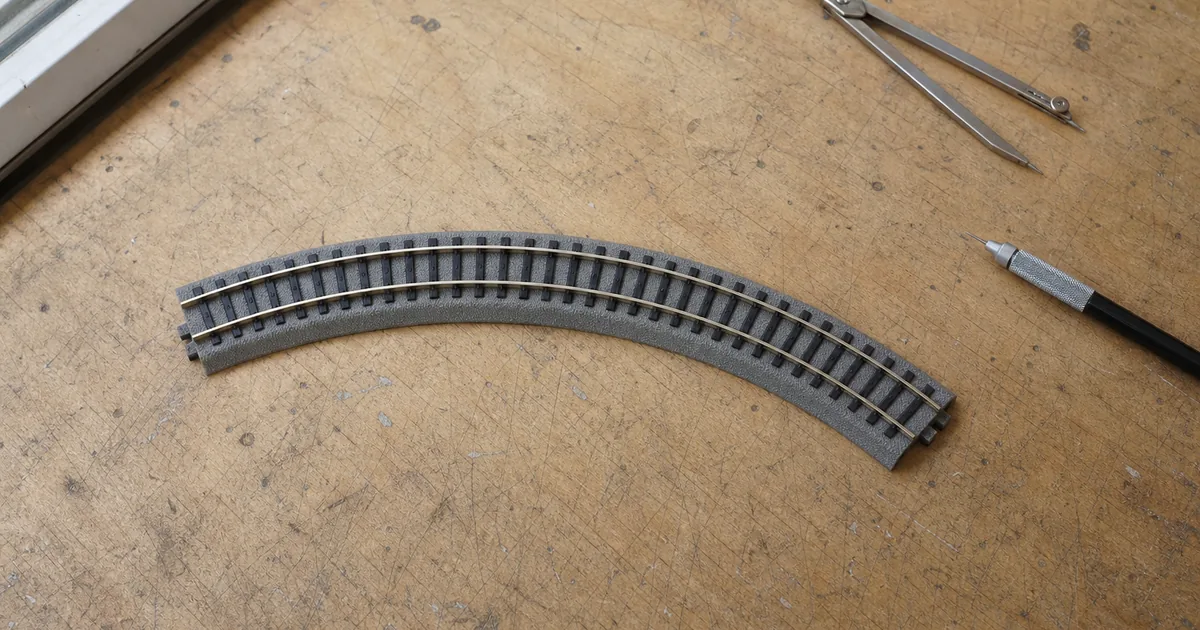
- Check the exact vehicle's published minimum radius and operating restrictions; see the N scale radius guide.
- Measure before changing geometry. Wheel back-to-back adjustment, point work or filing belongs in the manual-only tier, not a guess-and-try tier.
Symptom branch: lights flicker
Ask whether movement, motor sound or several cars change at the same instant. If they do, a shared rail, feeder or pickup branch becomes stronger. If the train runs steadily and one car alone flickers, that car's wheels, contacts or lighting installation become the stronger hypothesis—but still not proof.
Move the car to another documented position in the same formation only if its coupling and lighting system allow it, or test it on the known-good straight. Power off before checking the installation against both the vehicle and lighting-unit instructions. Do not probe live contacts with a metal tool. If the symptom follows the car, continue with external wheel/contact cleaning or the exact installation checks; if it follows the location, return to the track branch.
Symptom branch: turnout will not throw or a route is unpowered
An unpowered branch can be normal only for the exact power-routing model, setting and feeder arrangement. TOMIX defines its fully selective point function as feeding the route currently selected. KATO says its #4 and Y #2 ship in selective mode and can be set non-selective, while #6 cannot be made non-selective. These are brand/model statements, not a universal turnout rule.
- Identify the exact turnout and read its instruction before changing wiring or screws.
- Power off, remove the train and visible loose material around the points and throw bar without forcing the mechanism.
- Verify the feeder location, route setting and controller connection against the manual.
- Restore power for one controlled command. If protection trips, the drive does not complete its movement or abnormal heat/odor appears, switch off and move to support.
Ballast or scenery near moving parts is a separate construction risk. The ballasting guide maps conservative red zones before adhesive is applied.
If the layout uses DCC
Do not apply a DC-only diagnosis to a decoder-equipped locomotive. NCE's user-level checks include proving the system with other locomotives, verifying the selected address—including address 3 where applicable—checking consist state and following the system's startup sequence. Lights or sound do not by themselves prove the selected address and speed command are correct.
A decoder reset is not a universal first step. It can erase configuration, and methods differ by decoder and system. Use it only when the exact decoder maker documents the procedure and consequences. For system planning and the boundary between DC and DCC, see the DCC beginner guide.
STOP, external DIY, manual-only or service?
| Tier | What belongs here | Decision rule |
|---|---|---|
| STOP NOW | Smoke, burning odor, unexpected heat, damaged power cable or case, liquid in electrics, sustained abnormal arcing, repeated protection trip | Throttle zero, switch off and unplug if safe. Do not re-energize; follow the maker's emergency/support guidance. |
| External DIY | Re-rail; remove visible loose debris; reseat feeder/joint; inspect gap or step; maker-approved external cleaning; swap verified train/straight/feeder; check turnout route | Power off where instructed, change one item, then repeat the identical test. |
| Exact manual only | Remove shell; decoder CV or reset; pickup or wheel-spacing adjustment; turnout disassembly; lubrication | Proceed only when the exact model/system instruction authorizes the step and you accept warranty and parts risk. |
| Service/support | Cracked/skipping gear, broken wire/part, drive remains stalled, decoder-install short, power-unit casing fault, suspected new-product defect, or no safe next branch | Preserve the test log, video and original parts; contact the maker, seller or a qualified repairer. |
The five-line fault log
A useful support request is short and reproducible. Record: exact product numbers and control system; symptom; location and direction; speed/load or consist; last known change and 2×2 result. Add one short video that begins before the train reaches the fault. Do not edit away the controller indicator or the location marker. This is more actionable than “sometimes it stops,” and it also prevents you from repeating an intervention that already failed.
Official and first-party sources
Checked 2026-08-11. Each manufacturer source controls only its named product or system. The 2×2 matrix, intervention tiers and fault log are ROKHELM editorial decision tools assembled from those boundaries; they are not a manufacturer repair standard.
- KATO FAQ — vehicle will not move
- KATO FAQ — derailment checks
- KATO FAQ — abnormal sound and limited oiling guidance
- KATO FAQ — selective and non-selective turnout settings
- KATO FAQ — power-pack capacity, overload and short-circuit boundary
- KATO FAQ — fault, damage and support boundary
- TOMYTEC FAQ — running, lighting, turnout, cleaning, oiling and voltage cautions
- TOMIX beginner guide — safe setup and derailment response
- NMRA Beginners Guide Part 8 — wheel gauge, pickup and rolling stock
- NMRA Beginners Guide Part 5 — power, bus and feeder context
- NCE support — a DCC locomotive does not move or loses functions
- Hornby R8250 controller manual — hum and protection boundaries for that controller
- JR Central — Doctor Yellow T4 retirement release
- JR Central Market — T4 history and final inspection run
The matrix says “clean”?
Use the confirmed target and the least aggressive maker-supported method, then repeat the same run.
N scale troubleshooting FAQ
What should I check first if my N scale train will not move?
Return the throttle to zero and switch off track power. If there is smoke, a burning odor, unexpected heat, damaged wiring, sustained abnormal arcing or repeated protection trips, unplug and stop. Otherwise build the smallest test: the exact controller, one feeder, a short clean straight and one locomotive. Confirm the supply, feeder, rail joints and wheel placement before cleaning or opening anything.
How do I tell whether the fault is the train or the track?
Run the problem train on a known-good straight, then run a known-good train at the suspect location under comparable speed, direction and load. The 2×2 result identifies the strongest train-side, location-side, interaction or common-system hypothesis; it does not prove a single cause.
Can the train and track both pass separately but fail together?
Yes. A particular pickup wheelbase may bridge one frog poorly, a long vehicle may bind only on one curve, or coupler forces may appear only with a certain formation and direction. Repeat the exact speed, direction and load before calling the fault intermittent or fixed.
Is stalling always caused by dirty track?
No. Rail or wheel contamination is one possibility, but a loose joiner, feeder contact, turnout power routing, vehicle pickup, grade, load or DCC state can produce a similar symptom. Isolate the primary branch before cleaning, and change one variable at a time.
Why does my train stall only on a turnout?
Possible branches include the exact turnout's power-routing behavior, a frog or contact boundary, debris, a rail-height step, or an interaction with the vehicle's pickup wheelbase. Check the exact turnout manual and feed arrangement, then compare more than one verified train at the same low speed.
One route through my TOMIX or KATO turnout has no power—is it broken?
Not necessarily. A power-routing turnout may leave an unselected route unpowered when it is fed only through that turnout. TOMIX describes its fully selective points as feeding the selected route. KATO says its #4 and Y #2 ship selective and can be changed to non-selective, while #6 cannot. Confirm the exact model, setting and feeder location before declaring a fault.
My DCC locomotive has lights or sound but will not move—what next?
First verify track power, the selected address, consist state, startup or mute state and whether another locomotive works on the same system. NCE lists these as user-level checks. Use a reset only when the exact decoder manual specifies the procedure and its consequences; reset methods are not universal.
Does a humming locomotive mean the gears are jammed?
No. A hum alone does not identify the cause; some controller and decoder conditions can also produce sound. If a commanded locomotive does not move, return the throttle to zero, switch off and consult the exact controller, decoder and model instructions. Heat, odor, smoke or repeated protection trips are STOP signs.
It derails at the same place every time—what should I record?
Record the exact car, direction, speed, load, first wheel-climb point and any recent track or scenery work. Re-rail correctly, inspect joints and clearances, then trace backward from the first wheel that climbs rather than blaming the turnout or vehicle from where the car finally falls.
Should I alter wheel back-to-back or file a turnout?
Measure before altering anything. The NMRA recommends the correct scale Standards Gage for wheel, track and turnout relationships. Adjust only when the exact maker or standards guidance permits it and you understand the warranty and mechanism risks; otherwise use manufacturer support or a qualified repairer.
Why does only one lit car flicker?
If the locomotive and several cars stumble together, a shared rail or pickup branch is stronger. If running remains steady and one car alone flickers, that car's wheels, contacts or lighting installation become the stronger hypothesis, not a proven diagnosis. Switch off and follow the exact lighting and vehicle instructions.
When should I stop DIY and request service?
Stop immediately for smoke, burning odor, unexpected heat, damaged wiring, sustained abnormal arcing, liquid in electrics or repeated protection trips. Use service for a cracked or skipping gear, broken wire or part, a drive that remains stalled, a decoder-install short, a power-unit casing fault, a suspected new-product defect, or any next step that requires unsupported dismantling.