A model train photograph can be a roster record, an immersive scene, an inspection image or an attempt to show motion. Those are different jobs. The familiar advice to “use a phone,” “shoot at f/22” or “set 1/250 second” skips the first decision and turns one photographer's starting point into a false rule. The reliable method is to define the evidence or story the image must carry, build a controlled setup, then calibrate one variable at a time.
Exclusive tool 1: choose the shot before the settings
The output decides what “sharp,” “realistic” and “correctly exposed” mean. A catalog frame needs comparable geometry and livery detail. A narrative scene can accept selective focus if it supports the story. A detail image must resolve the part being judged. A moving-train frame must define whether motion is to be frozen or shown. Use this matrix before opening a settings menu.
| Shot intent | Camera axis and height | Focus strategy | Light and reflection check | Pass condition |
|---|---|---|---|---|
| Roster or catalog record | Broadside or restrained three-quarter view; camera level with the car body and repeatable | Keep the identifying front, number and side markings legible; square the camera plane where useful | Even enough to retain colour and printed detail; no bright room clutter in glazing | Vehicle identity, livery, major fittings and condition can be compared with another frame |
| Immersive layout scene | Choose a plausible observer position such as platform or lineside height; this is a framing decision, not a law | Focus on the story zone; use depth rather than maximum sharpness everywhere when intentional | One motivated light direction; reflections and shadows support rather than reveal the room | The train, infrastructure and foreground read as one scene without accidental scale-breaking clutter |
| Detail or inspection | Square to the detail where measurement or condition matters; leave working distance for light | Place focus on the exact part; test macro or close-focus mode only when normal focus cannot resolve it | Raking or side light may reveal texture; do not let the device shade the subject | The required lettering, edge, weathering layer or defect is resolved without unsupported enhancement claims |
| Moving train | Support clear of the track and vehicle envelope; frame the entry and exit before power-on | Pre-focus or use the exact device's supported tracking method; define freeze versus pan | Enough controllable light for the selected motion result; check LED and room-light banding | The train has the intended degree of motion and the same run can be repeated safely |
A repeatable six-step workflow
1. Define the shot purpose
Choose one output—roster record, immersive scene, detail inspection or moving train—because camera height, focus depth and motion treatment depend on that decision.
2. Clean the lens and model by the maker's instructions
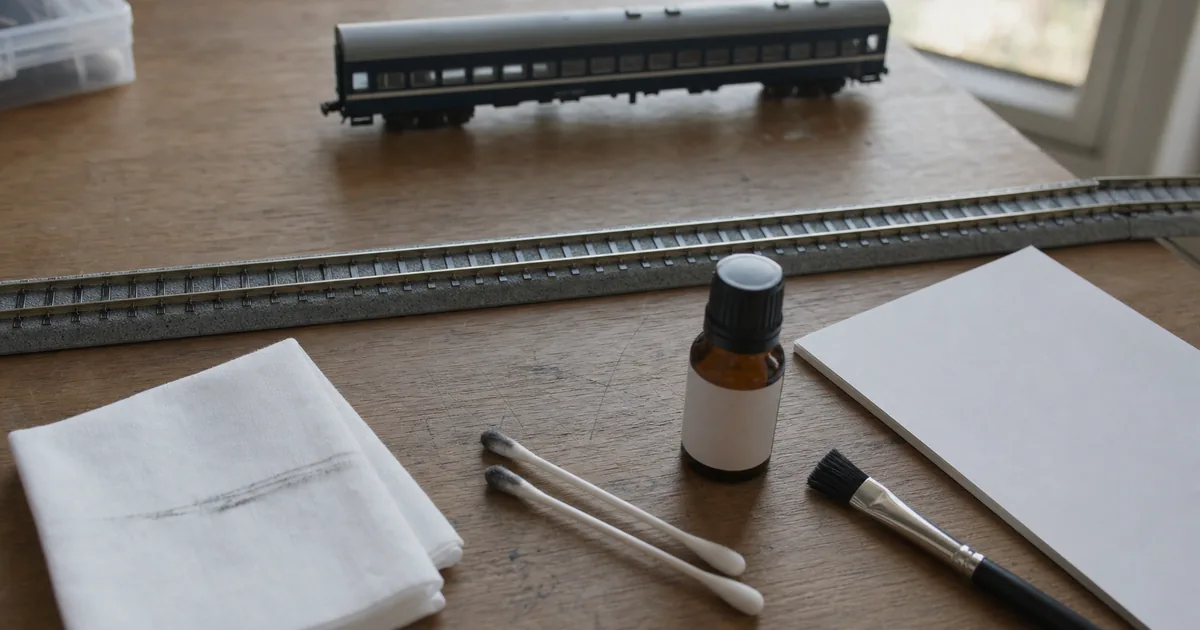
Clean the camera lens, then remove only loose dust from the model with a method its manufacturer permits. Do not transfer track-cleaning chemicals to a painted body.
3. Support the camera and choose the axis
Place the phone or camera on a stable support, keep it clear of the track, and choose a low narrative angle or a square documentary view to match the shot purpose.
4. Build one controllable light and reflection setup
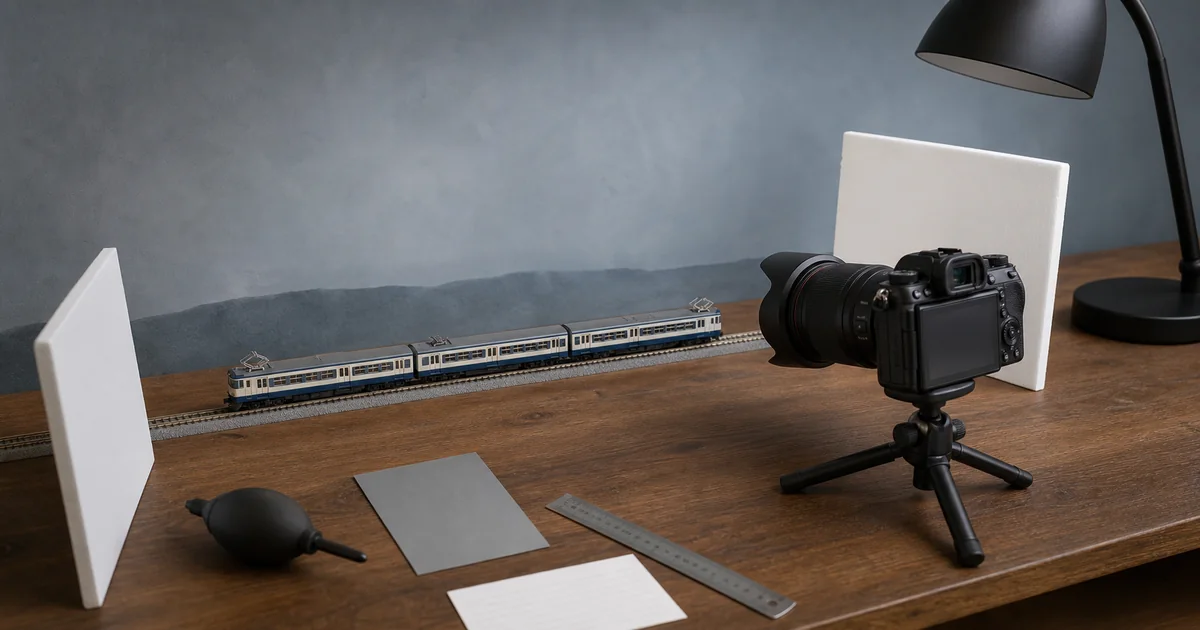
Start with one diffused or bounced light, a white fill card and—when glazing reflects the room—a black card outside the frame. Keep materials away from hot fixtures and follow the light maker's instructions.
5. Lock focus and exposure, then make a test frame
Confirm which physical phone camera is active or choose the camera settings, focus on the intended evidence zone, protect bright livery detail and use a timer or compatible remote when the subject is static.
6. Inspect at 100 percent and change one variable
Check sharpness, clipped highlights, window reflections, edge masking and LED bands. Change only angle, distance, focus, exposure, shutter speed, train speed or light, then record the successful setup.
Clean for the photograph without inventing a chemical rule
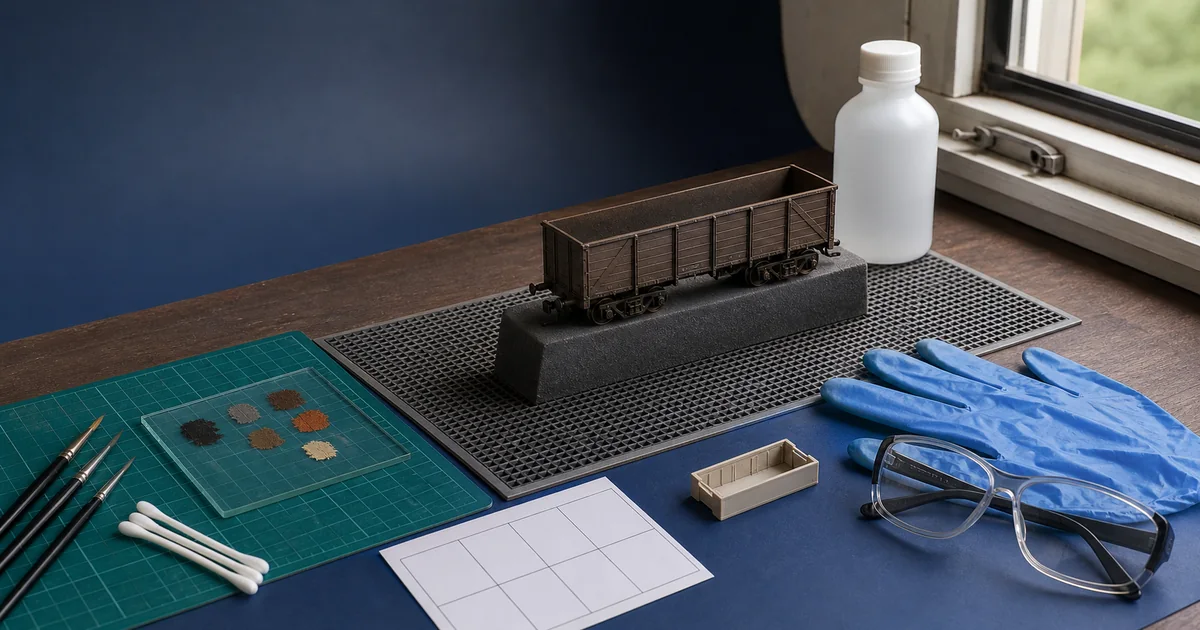
Close framing can reveal dust and fingerprints that are unobtrusive on a shelf, but “clean the model” is not permission to improvise. Clean the camera lens first so haze is not misdiagnosed as missed focus. Then read the vehicle instruction. TOMIX's FAQ says to wipe a vehicle body with a dry, soft cloth and not to use its Rail Cleaner on the body; that statement governs TOMIX's named practice, not every maker and finish.
Phone or camera: identify the controls you actually have
“Use the 1× lens” is not a universal instruction. A zoom label is a user-interface position, not proof of which physical camera is active. Apple says supported iPhones automatically switch to the Ultra Wide camera at macro distance and provide a Macro Control to disable that automatic switch. Google documents model-limited Macro Focus, focus/exposure lock and manual lens selection on certain Pixels. Samsung's Camera Assistant page for the Galaxy S23 Ultra says Auto lens switching lets the device choose according to zoom, light and subject distance. These are device-specific examples of one rule: confirm the active camera and the resulting perspective instead of assuming the label.
| Control | Phone branch | Interchangeable-lens or compact camera branch |
|---|---|---|
| Focus and exposure | Tap the intended evidence zone; use focus/exposure lock when the exact phone offers it | Use an appropriate single point, manual focus or supported tracking mode; verify at enlarged playback |
| Physical lens | Watch for automatic macro or lens switching; compare perspective and detail, not just “1×” | Choose focal length and working distance for the required framing; a macro lens is optional, not a badge of quality |
| Release | Use the phone's timer or supported remote method on a stable support | Use the exact model's self-timer, cable, app or compatible remote; Nikon explicitly makes compatibility model-specific |
| Processing | Computational sharpening, HDR, portrait masking and lens changes can vary between frames | Picture style, noise reduction, raw processing and lens corrections can also change comparison frames |
A phone is sufficient when it resolves the intended output at the required working distance. A camera becomes useful when you need repeatable manual exposure, aperture control, a longer working distance, a particular focal length, raw files, focus-shift automation or a motion-control feature. That is a task requirement, not a hierarchy of who is a “serious” modeller.
Depth of field: solve geometry before chasing a number
Sony's depth-of-field explanation identifies distance, aperture and focal length as factors. For a long model photographed obliquely at close range, the locomotive nose and last car may simply sit outside one focus zone. First reduce the depth the camera must cover: rotate toward a more parallel view, increase working distance, or choose a less deep composition. Then test aperture if the camera provides it.
A narrow aperture can increase depth of field, but “always use f/22” is poor universal advice. Nikon's focus-stacking guidance and Sony's aperture guidance both describe the diffraction trade-off at small apertures. The useful aperture depends on the lens, output size and scene. Make a ladder—one frame at the starting aperture, one step narrower, inspect, repeat—and stop when extra depth no longer compensates for reduced definition or longer exposure.
Light and reflections: build a controlled path
Window glare is not an abstract “too much light” problem. The glazing reflects whatever lies on the corresponding angle. Move the camera or light, remove bright room clutter from the reflection path, and introduce a deliberate card outside the frame. A black card can create a clean dark band; a white card can lift a shadow; neither is automatically correct for every prototype glazing.
Start with one source so cause and effect remain visible. A manufacturer-approved diffuser, softbox or bounce surface can enlarge the apparent source and soften edges. Add a fill card before adding another lamp with a different colour. Do not tape paper or fabric against a fixture, block cooling vents or assume an LED cannot become hot. Follow the light's rated clearances and diffuser instructions.
Reflection sweep
With the camera fixed, move one card slowly around the train while watching the window and glossy paint. Stop where the reflected shape helps, mark that card position, then take the test frame.
Light-direction proof
Make one frame, rotate only the source, and compare whether body ribs, roof equipment and weathering remain legible. Brightness alone does not prove useful modelling light.
Protect bright liveries without making every frame dark
Sony explains exposure compensation as a deliberate adjustment when the camera's automatic brightness differs from the intended result. On a white or metallic train, inspect the brightest painted area after the test frame. If a channel is truly clipped in the recorded file, detail from that channel cannot be reconstructed; reduce exposure or change the light angle and shoot again. But severe underexposure can increase noise and weaken colour, so “always expose dark” is not a substitute for checking.
Use the device's histogram or highlight warning if its manual provides one, and inspect the file rather than the thumbnail. Phone HDR or computational processing may protect one region while changing another. For a repeatable roster or weathering record, keep exposure, white-balance behaviour and processing mode documented.
Moving trains: calibrate, do not copy a shutter speed
A shutter value cannot be separated from train speed, direction, focal length, camera distance, sensor readout and how much blur the photograph is meant to show. A train moving across the frame behaves differently from one approaching the camera. A short focal length at a distance behaves differently from a close telephoto frame. Treat every quoted number as a test point, not a guarantee.
- Choose freeze, controlled wheel/body blur or pan before the run.
- Place the support outside the train and structure envelope, pre-frame the full route and verify the layout runs reliably.
- Make one low-risk run at a known train speed and one shutter setting.
- Inspect the train, wheels, lights and background at full size.
- Change only shutter speed, train speed or light by one step; repeat in the same direction.
- Record the combination that passes. Recalibrate when direction, lens, distance or lighting changes.
For a pan, follow the train before and through release while keeping the support and your hands clear of the layout. For a frozen frame, add controllable light or reduce train speed before accepting destructive noise or clipping. A burst can increase the chance of a usable position, but it does not correct an unsafe setup or a focus plane that misses the train.
Exclusive tool 2: blur and flicker fault tree
Start with what the file actually shows. Do not clean rails because a background is soft, and do not change camera settings because the train visibly loses power. The symptom branches below deliberately separate camera, scene geometry, motion and model operation.
| Observed symptom | Strongest first branch | Controlled next test | Stop guessing when… |
|---|---|---|---|
| Whole frame is soft, including stationary scenery | Lens contamination, support movement, release shake or misplaced focus | Clean the lens, support the device, use timer/remote and focus on a fixed high-contrast detail | A supported static target is still soft; check the exact camera/lens manual and active physical lens |
| Front is sharp; far cars or scenery are soft | Available depth of field versus subject geometry | Make the camera plane more parallel, increase distance, then test aperture or a static stack | The output already meets its story purpose; selective focus is not automatically a defect |
| Train streaks; fixed scenery is sharp | Subject motion relative to shutter and frame direction | Change one of shutter speed, train speed or light; repeat the same run | You cannot keep the camera/support clear of the operating envelope |
| Lights look steady to the eye; recorded image has bands or colour stripes | Camera interaction with LED or room-light flicker | Change shutter speed and consult the exact device's anti-flicker or variable-shutter options | The feature is unavailable or the result cannot be stabilised; change the light or shooting mode |
| Model lights visibly cut out and train hesitates | Wheel–rail pickup, track, feeder or lighting installation | Repeat a known-good train/location cross-test before cleaning or opening the car | There is heat, odor, arcing, protection trip or an instruction-only repair boundary |
| Vehicle edge is sharp but portrait/background mask cuts pantographs or railings | Computational segmentation | Turn off the synthetic blur mode or use a standard photo mode and recreate depth optically | The original unprocessed capture is unavailable; do not present the mask as model detail |
Sony documents that flickering illumination can appear as horizontal banding or discolouration because different sensor regions are recorded at different moments. Its remedies vary by camera and include shutter-speed changes, mechanical-shutter choices, anti-flicker and variable-shutter functions; Sony also warns that functions depend on the model. That supports the camera-side branch. It does not prove that every flickering coach is a camera artifact.
Make the photograph a useful modelling record
A repeatable frame can reveal a changed weathering layer, a repaired handrail or a scenery edge, but only when the capture conditions are comparable. Phone processing can change results, and photographs do not replace direct inspection. Record enough context to understand a difference instead of attributing every tonal change to the model.
| Record field | Example entry | Why it matters |
|---|---|---|
| Device and physical camera/lens | Phone wide camera; macro switching off | Prevents an unnoticed lens or perspective change |
| Camera position | Tripod marks, height, distance, broadside angle | Keeps size, convergence and depth comparable |
| Subject position | Leading axle at a marked sleeper | Returns the same car side to the same light |
| Light and cards | One panel left-front; white fill; black window card | Separates model changes from reflection changes |
| Focus, exposure and processing | Focus mark, compensation, WB or raw/picture mode | Reduces automatic-camera drift between stages |
| Filename and intervention | Car-end-layer-01 before powder | Connects the frame to the exact modelling step |
This is especially useful with the weathering compatibility gate: make a controlled frame before the layer, another after it dries, then compare. Use the same approach to document coupler clearance without touching live track; if the photograph reveals a suspect vehicle end, verify it with the four-gate coupler guide rather than judging compatibility from appearance.
Exclusive tool 3: comparison-frame acceptance gate
Do not call two photographs a controlled before-and-after pair merely because they show the same vehicle. Compare the capture passport above, then release the pair only when the fields that could imitate the claimed change are held constant. This gate is for evidence-led modelling records; an artistic image may deliberately choose different conditions.
| Gate | PASS | HOLD | REOPEN |
|---|---|---|---|
| Identity and framing | Same vehicle, side, physical camera or lens, camera marks and subject marks | Crop differs but the original frame and scale reference remain available | Lens, viewpoint, distance or vehicle orientation changed without a documented reason |
| Light and reflection | Source, cards, room light and glazing reflections return to their recorded marks | A harmless background change is outside the evidence zone | A highlight, shadow or window reflection could imitate the claimed finish or detail change |
| Focus and processing | Same focus target, exposure/WB behaviour and picture or raw mode | Automatic processing is unavoidable but named in the record | Portrait blur, HDR, lens switching or editing changed only one member of the pair |
| File inspection | Both originals pass the same 100-percent sharpness, clipping, banding and masking check | A flaw is outside the evidence zone and disclosed | The claimed difference overlaps blur, clipping, flicker, a stacking seam or a synthetic mask |
| Change control | Only the named modelling intervention changed | A second change is recorded and can be separated | An undocumented camera, light, layout or processing change prevents attribution |
Railway photography began as evidence before it became a railfan language
Railway-culture answer: the National Railway Museum says the first known railway photographs date to the 1840s and were used to document engineering. In 1856, Beyer, Peacock engaged James Mudd to photograph new locomotives; official images later expanded from static vehicles and construction to works, passing trains and publicity. Faster shutters and improved emulsions let enthusiasts capture movement by the 1880s, and the Railway Photographic Society formed in 1922 with members circulating prints for criticism. A model collection benefits from the same two jobs: keep one repeatable roster frame as evidence, then make a separate low-angle scene as interpretation.
Official and first-party sources
Checked 2026-08-25. Camera functions are device-, lens- and firmware-specific. The cited maker pages support only the controls and products they name. ROKHELM's shot-intent matrix, fault tree, capture passport and comparison acceptance gate are editorial decision tools, not camera-manufacturer standards or claims of testing every setup.
- Apple iPhone User Guide — manual focus/exposure adjustment, AE/AF Lock and timer
- Apple iPhone User Guide — macro camera switching and Macro Control
- Google Pixel Camera Help — focus/exposure lock, model-limited Macro Focus and lens controls
- Samsung UK — Galaxy S23 Ultra Camera Assistant and Auto lens switching
- Sony — depth of field, distance, aperture and focal length
- Sony — small-aperture diffraction and supported-camera stability guidance
- Sony — exposure and exposure compensation
- Sony — reducing flicker and horizontal banding
- Nikon — focus shift, stacking and diffraction trade-offs
- Nikon — self-timer and model-specific remote options
- TOMYTEC/TOMIX FAQ — vehicle-body and Rail Cleaner boundary
- National Railway Museum — railway art and photography history
Turn the next photograph into evidence
Model train photography FAQ
Can a phone take good model train photographs?
Yes, when the phone can focus at the required distance and gives you enough control for the intended result. Support it, identify the active physical camera, control the light, lock or deliberately place focus and exposure where the device allows, then inspect the file at full size. A camera may still be useful for manual aperture, longer working distance, raw files, specialised lenses or repeatable moving-train control.
Do I need a macro lens for model train photography?
Not for every photograph. A whole vehicle, formation or layout scene may fit within the normal focusing range of a phone or standard lens. A macro lens becomes useful when the required detail and working distance exceed that setup. Test the intended framing first; do not buy a macro lens merely because the subject is a model.
What should I fix first when the whole photograph is blurry?
First clean the camera lens, support the phone or camera, use a timer or compatible remote for a static subject and confirm that focus was placed on the train. If the whole frame remains soft, check whether the device changed physical cameras, whether the support moved and whether the shutter speed is suitable for any subject motion.
Why is the locomotive sharp but the rear of the train blurred?
The subject extends beyond the available depth of field. Make the camera plane more parallel to the train, increase camera-to-subject distance and reframe, then test a narrower aperture if the camera provides one. For a fully static scene, focus stacking can combine frames made at different focus distances; moving trains and changing light make stacking unreliable.
Should I use f/22 to keep the whole train sharp?
Do not treat f/22 as a universal solution. A narrower aperture can increase depth of field, but Nikon and Sony both explain that very small apertures can reduce definition through diffraction. Start with angle and distance, then test aperture one step at a time on your lens; use focus stacking for a static subject when a single frame cannot meet the output requirement.
How should I clean a model before photographing it?
Follow the exact vehicle maker's cleaning instructions and protect fragile details. TOMIX's FAQ says to wipe a vehicle body with a dry soft cloth and not use its Rail Cleaner on the body. That is TOMIX-specific guidance, not permission to brush every model; if the instruction is unclear, remove only loose dust without pressing on pantographs, handrails or printed surfaces.
Why does a white train lose all surface detail?
The brightest paint channel may be clipped, or the light may be too frontal to reveal form. Reduce exposure or change the light angle, make a test frame and inspect the bright body at full size. Detail that is truly clipped in the recorded file cannot be reconstructed from that channel, while severe underexposure can add noise and colour loss, so use a controlled exposure test rather than simply making every frame dark.
How do I remove room reflections from model train windows?
Move the light and camera first, because the glazing reflects whatever sits at the matching angle. Enlarge or diffuse the source, clear bright clutter from the reflection path and place a black or white card outside the frame to create a deliberate band. Check the result at full size; a card is a reflection-control tool, not proof that every window should appear black.
What shutter speed should I use for a moving model train?
There is no universal speed because train speed, direction, focal length, distance, sensor readout, light and the amount of acceptable blur all change the result. Start with one test frame, inspect the train and background, then change only shutter speed, train speed or light by one step. Record the combination that freezes the train or produces the intended pan on your layout.
Are bands in a photo always a track-pickup problem?
No. If lights look steady to your eyes but the image contains horizontal or colour bands, the camera may be recording LED or room-light flicker; Sony documents shutter-speed, anti-flicker and variable-shutter options on supported cameras. If the model lights visibly cut out and the train also hesitates, a wheel, rail, pickup or lighting-installation fault becomes the stronger branch. Test the recorded-image and visible-operation symptoms separately.
When should I use focus stacking?
Use it for a completely static subject when angle, distance and a practical aperture still cannot cover the required depth. Make a supported sequence with consistent framing and light, shifting focus from the nearest required point toward the farthest, then combine only the usable frames. Do not expect clean seams when the train, scenery, shadows or automatic camera processing change between frames.
How can I make before-and-after weathering photos comparable?
Record the device and physical lens, camera position and height, subject position, light location, background, focus point, exposure and white-balance behaviour. Keep that card with the filenames and change only the weathering layer. The photographs then become a controlled comparison, although phone processing can still vary and the image does not replace direct inspection.